Installing computer memory (RAM) is one of the most cost-effective ways to boost your system’s performance. Whether you’re upgrading an existing PC or building a new one, understanding the installation process is essential. This guide provides a detailed, beginner-friendly walkthrough to ensure a smooth and successful installation.
1. Preparation: Tools and Safety Measures
Before touching any components, ensure you have the right tools and workspace:
- Anti-static wristband: Prevents electrostatic discharge (ESD) that can damage sensitive parts.
- Screwdriver: For opening the computer case (if required).
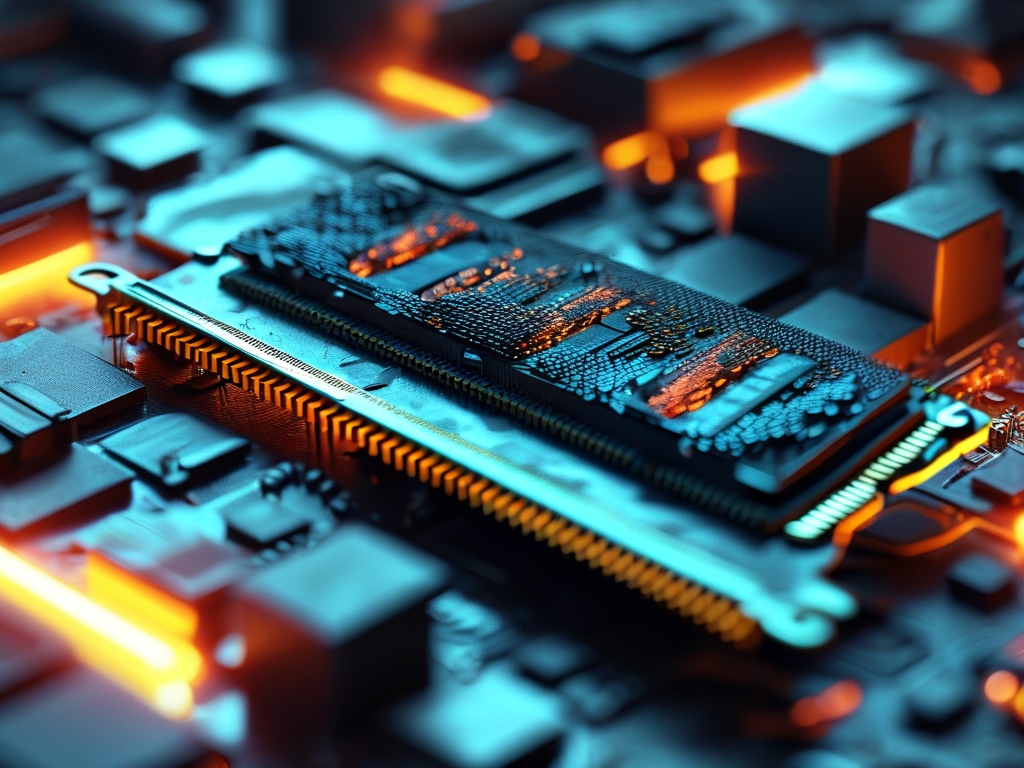
- Compatible RAM: Check your motherboard’s specifications (DDR4, DDR5, speed, and maximum capacity).
- Clean workspace: A flat, non-conductive surface with adequate lighting.
Safety Tips:
- Turn off and unplug the computer.
- Ground yourself by touching the metal case before handling RAM.
- Avoid wearing clothing that generates static, such as wool.
2. Accessing the Motherboard
- Open the computer case:
- For tower cases: Remove the side panel (usually held by screws or latches).
- For laptops: Refer to the manufacturer’s guide, as accessing RAM slots often requires removing the bottom panel.
- Locate the RAM slots: These are long, narrow sockets near the CPU, typically labeled “DIMM” or “SO-DIMM” for laptops.
- Clear obstructions: Ensure cables or coolers aren’t blocking access to the slots.
3. Removing Existing RAM (If Upgrading)
- Release retention clips: Gently push down on the plastic clips at both ends of the RAM stick. The stick will pop up at a 45-degree angle.
- Remove the stick: Carefully pull it straight out. Avoid bending or forcing it.
4. Installing New RAM
- Align the notch: RAM sticks have a notch on the bottom edge that matches a ridge in the slot. Ensure proper orientation.
- Insert at an angle: Place the stick into the slot at a 45-degree angle.
- Press down firmly: Apply even pressure until the retention clips snap into place. You should hear a click.
Dual-Channel Configuration:
- For optimal performance, install RAM in pairs (e.g., slots 1 and 3 or 2 and 4, as specified in your motherboard manual).
5. Verifying Installation
- Reassemble the computer: Secure the case panel and reconnect peripherals.
- Power on the system: Listen for a single beep (a POST code indicating successful hardware detection).
- Check BIOS/UEFI:
- Enter BIOS by pressing Delete/F2/F10 during startup.
- Navigate to the memory section to confirm the new RAM is recognized.
- Check in the operating system:
- On Windows: Open Task Manager (Ctrl+Shift+Esc) > Performance > Memory.
- On macOS: Click Apple logo > About This Mac > Memory.
6. Troubleshooting Common Issues
- No display:
- Reseat the RAM sticks.
- Test one stick at a time to identify faulty modules.
- Incorrect capacity detected:
- Update motherboard BIOS/UEFI.
- Ensure RAM is fully inserted.
- System instability:
- Run a memory diagnostic tool (e.g., Windows Memory Diagnostic).
- Verify compatibility with the motherboard.
7. Advanced Tips
- Overclocking: Use BIOS settings to adjust RAM speed/timings for enthusiasts (risks voiding warranties).
- Cooling: High-performance RAM may require heat spreaders or additional airflow.
Installing RAM is a straightforward process that takes less than 15 minutes but can significantly enhance multitasking, gaming, and productivity. By following these steps, even first-time builders can confidently upgrade their systems. Always double-check compatibility and handle components with care to avoid damage. With your new memory in place, enjoy a faster, more responsive computer!