Installing computer memory (RAM) is a straightforward process that can significantly enhance system performance. Whether upgrading an existing PC or building a new one, understanding the correct installation steps ensures compatibility and avoids hardware damage. Below is a detailed walkthrough covering preparation, installation techniques, and post-installation verification.
Pre-Installation Preparation
Before handling memory modules, power off the computer and disconnect all cables. Ground yourself by touching a metal surface to prevent electrostatic discharge (ESD), which can harm sensitive components. Gather tools: a screwdriver (if needed to open the case) and the RAM modules. Verify compatibility by checking the motherboard’s specifications for supported memory types (e.g., DDR4/DDR5), speed, and maximum capacity.
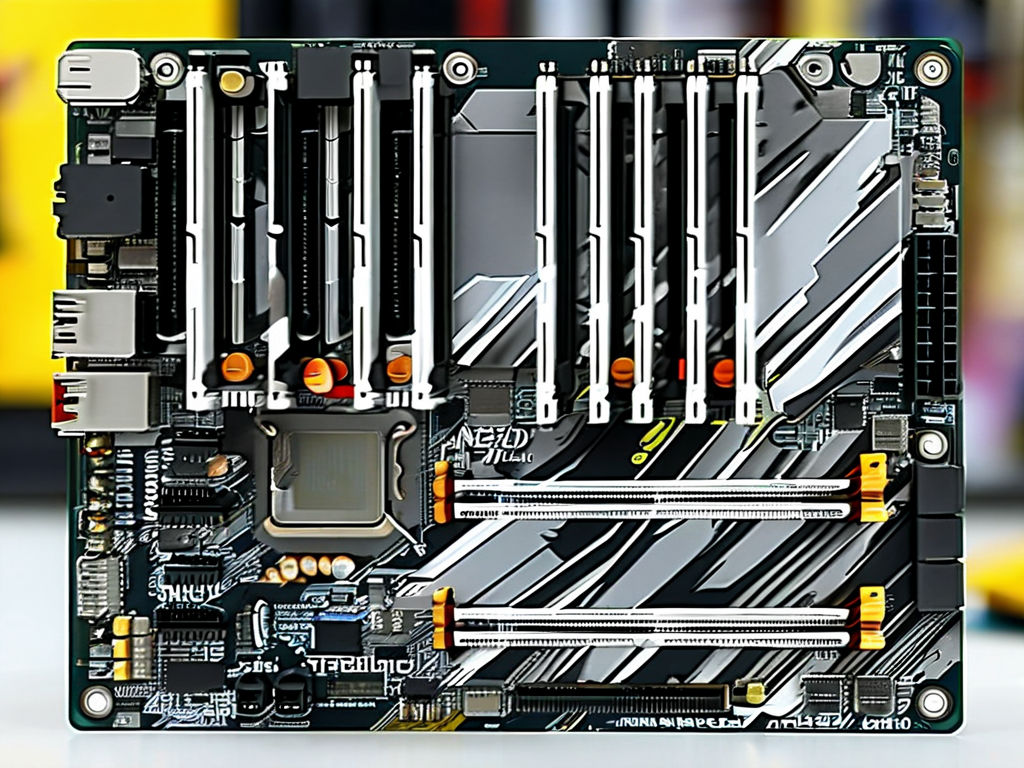
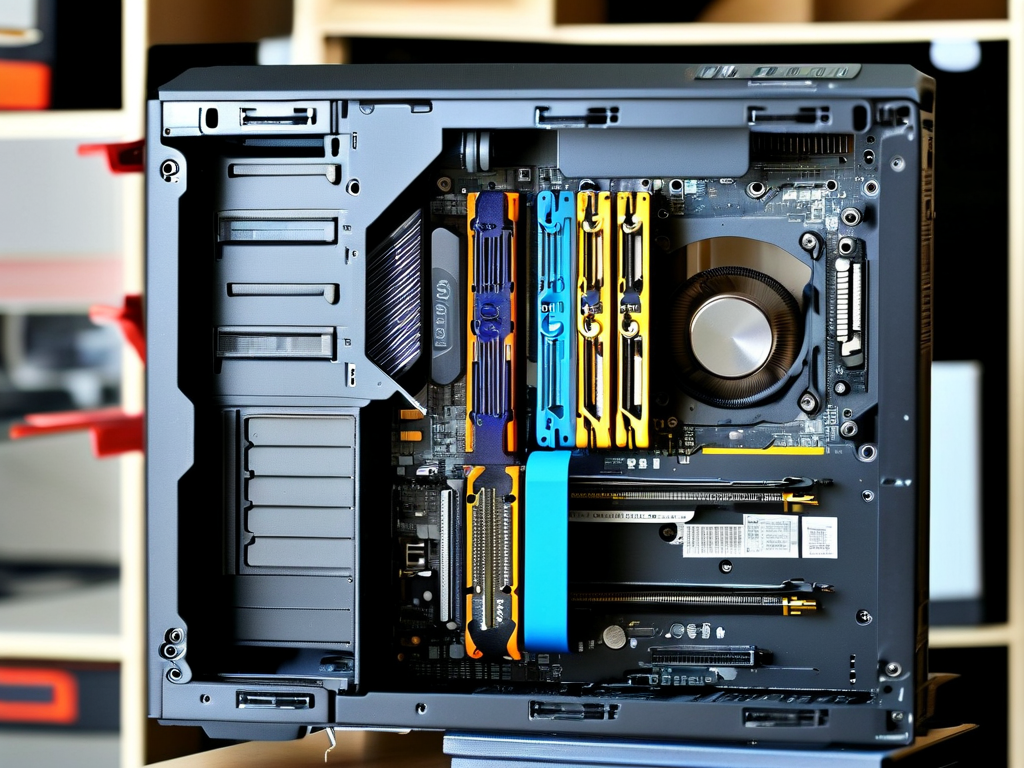
Accessing the Memory Slots
Open the computer case by removing the side panel. Locate the RAM slots on the motherboard, typically positioned near the CPU socket. Most motherboards have two to four slots, often color-coded to indicate dual-channel configurations. If replacing old modules, gently press down on the retention clips at both ends of the slot to release the existing RAM. Remove the module by pulling it straight out.
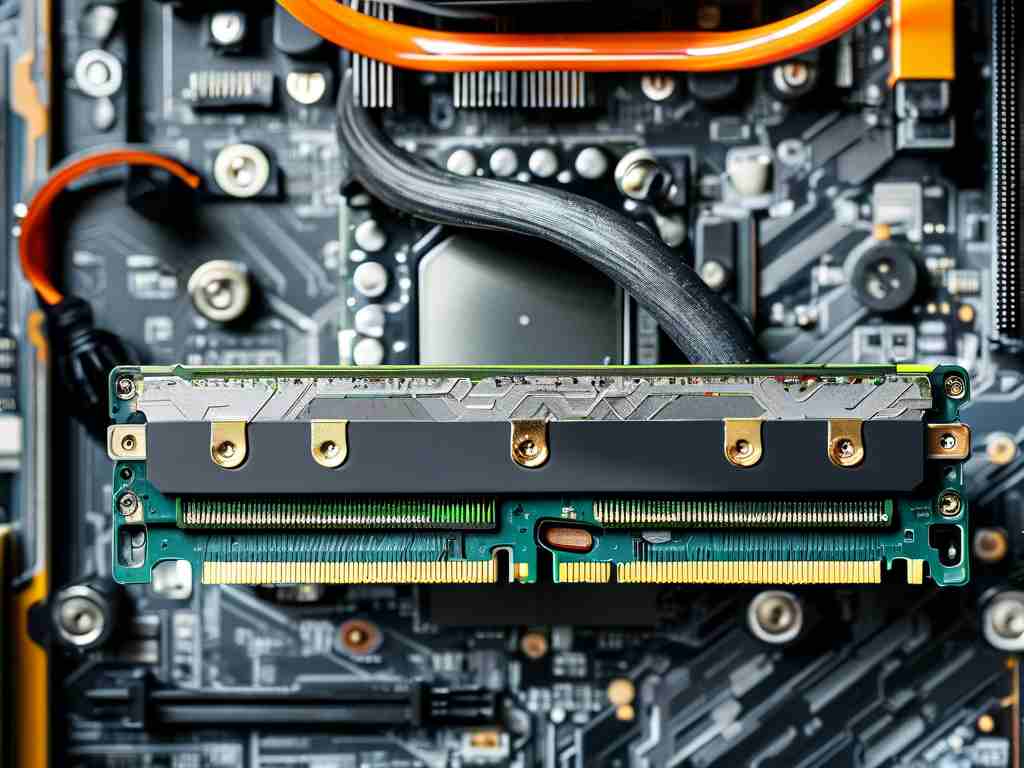
Installing the New RAM
Hold the new memory module by its edges, avoiding contact with the gold connectors. Align the notch on the RAM stick with the slot’s protrusion to ensure proper orientation. Firmly press the module into the slot at a 90-degree angle until the retention clips snap into place automatically. For dual-channel setups, install matched pairs in corresponding slots (e.g., Slot 1 and Slot 3) as per the motherboard manual.
Post-Installation Checks
Reattach the computer’s side panel and reconnect all cables. Power on the system and enter the BIOS/UEFI by pressing the designated key (often Delete/F2/F10) during startup. Navigate to the memory settings to confirm the motherboard recognizes the new RAM capacity and speed. If the system fails to boot, reseat the modules and ensure they are fully inserted.
Troubleshooting Common Issues
Unexpected errors may arise if modules are incompatible or improperly installed. If the PC emits beep codes or displays a “no memory detected” error, double-check slot compatibility and module seating. For systems with mixed RAM sizes or speeds, enable XMP/DOCP profiles in the BIOS to optimize performance. Clean the RAM contacts with isopropyl alcohol if oxidation is suspected.
Optimizing Memory Performance
After successful installation, use tools like Windows Task Manager or third-party software (e.g., CPU-Z) to monitor memory usage and clock speeds. For gaming or intensive applications, ensure the RAM operates at its advertised speed via BIOS settings. Regularly update motherboard firmware to maintain compatibility with newer memory technologies.
By following these guidelines, users can safely upgrade their computer’s memory, extending its lifespan and boosting multitasking capabilities. Always consult the motherboard and RAM manufacturer’s documentation for model-specific instructions.