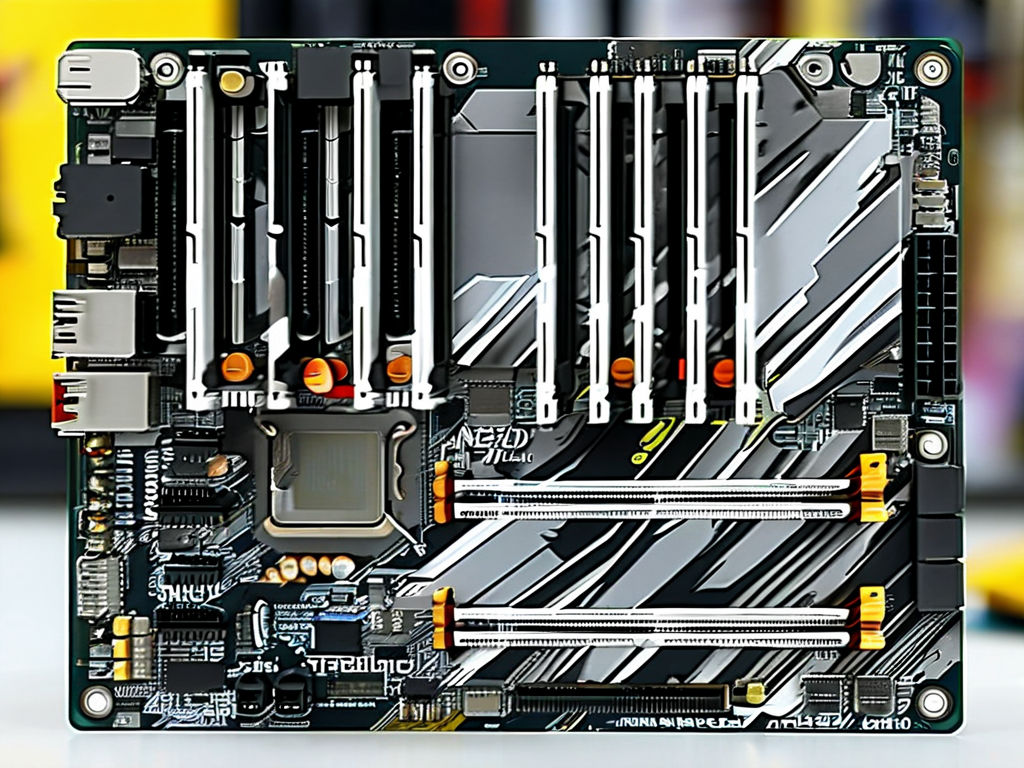
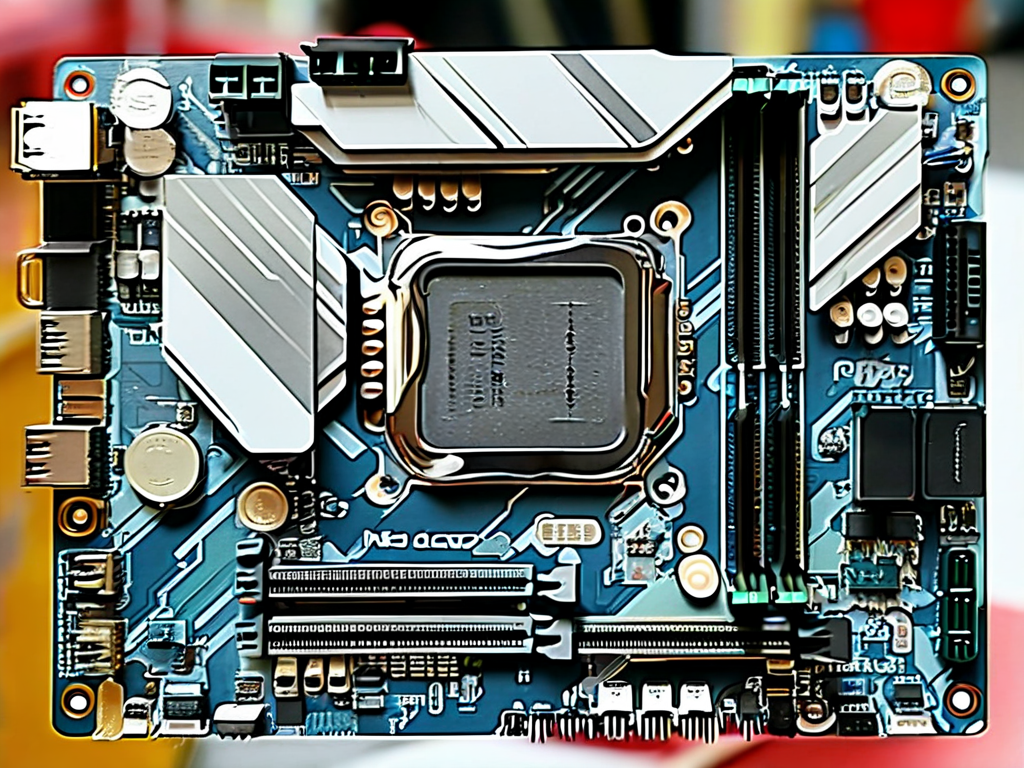
Understanding how to calculate and adjust memory voltage is critical for optimizing performance and stability when working with Onda motherboards. This guide explores practical methods to determine safe voltage ranges, troubleshoot compatibility issues, and enhance system efficiency through targeted adjustments.
Why Memory Voltage Matters
Memory voltage directly impacts data transfer stability and overclocking potential. Onda motherboards, known for their cost-effective designs, often require precise voltage tuning to accommodate high-performance RAM modules. Incorrect settings may lead to system crashes, data corruption, or hardware damage. By calculating the optimal voltage, users can balance thermal output and processing speed effectively.
Step 1: Identify RAM Specifications
Begin by checking your RAM module's rated voltage, typically printed on the label or accessible via software tools like CPU-Z. Most DDR4 modules operate at 1.2V–1.35V, while older DDR3 variants range from 1.5V–1.65V. For Onda boards, verify compatibility using the manufacturer’s QVL (Qualified Vendor List) to avoid mismatches.
Step 2: Access BIOS/UEFI Interface
Restart your system and press the designated key (usually Delete or F2) to enter the BIOS/UEFI. Navigate to the "Advanced" or "Overclocking" section. Onda’s interface may label voltage settings as "DRAM Voltage" or "VDDQ." Avoid modifying other parameters like CPU core voltage during this process.
Step 3: Calculate Adjustments
Use the formula below to estimate a safe voltage increase for overclocking:
Base Voltage (V) + (Target Frequency Increase (%) × 0.01) = Adjusted Voltage For example, raising a 2400MHz DDR4 module to 3000MHz (25% increase) would require:
1.2V + (25 × 0.01) = 1.45V This simplified method assumes linear scaling and should be validated through stress testing.
Step 4: Stress Testing and Validation
Boot into an OS and run tools like MemTest86 or Prime95 for 2–4 hours. Monitor temperatures using HWMonitor or Open Hardware Monitor. If errors occur, incrementally reduce the voltage by 0.01V until stability is achieved. Onda’s bundled software, such as Onda Magic BIOS, may offer automated tuning options for beginners.
Common Pitfalls and Fixes
- Cold Boot Failures: Reset CMOS via the motherboard jumper if the system refuses to start after adjustments.
- Inconsistent Readings: Update the motherboard firmware to resolve sensor calibration issues.
- Excessive Heat: Install additional case fans or reduce voltage if temperatures exceed 50°C under load.
Advanced Techniques
Experienced users can leverage XMP (Extreme Memory Profile) data embedded in RAM modules. Decode SPD (Serial Presence Detect) values using Thaiphoon Burner to extract factory-tested voltage thresholds. For Onda boards lacking XMP support, manually inputting these values often yields better results than automated presets.
Accurate memory voltage calculation on Onda motherboards demands a blend of technical knowledge and iterative testing. By adhering to manufacturer guidelines and systematically validating changes, users can unlock hidden performance without compromising hardware integrity. Always document adjustments and maintain incremental backups of stable BIOS profiles for quick recovery.