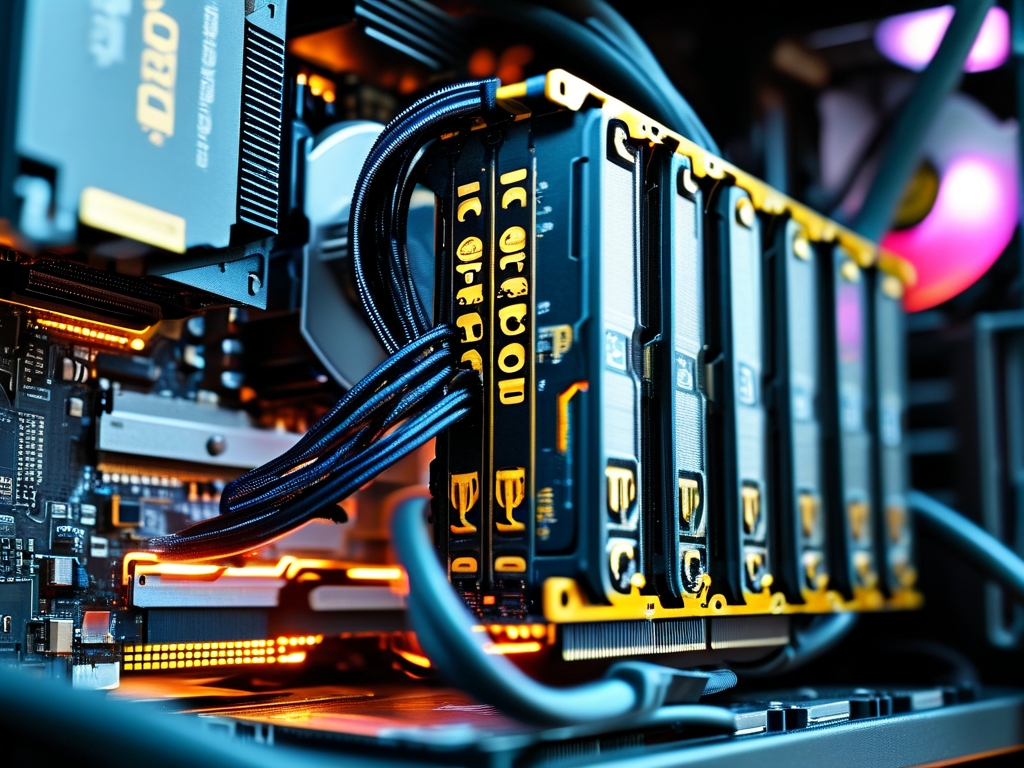
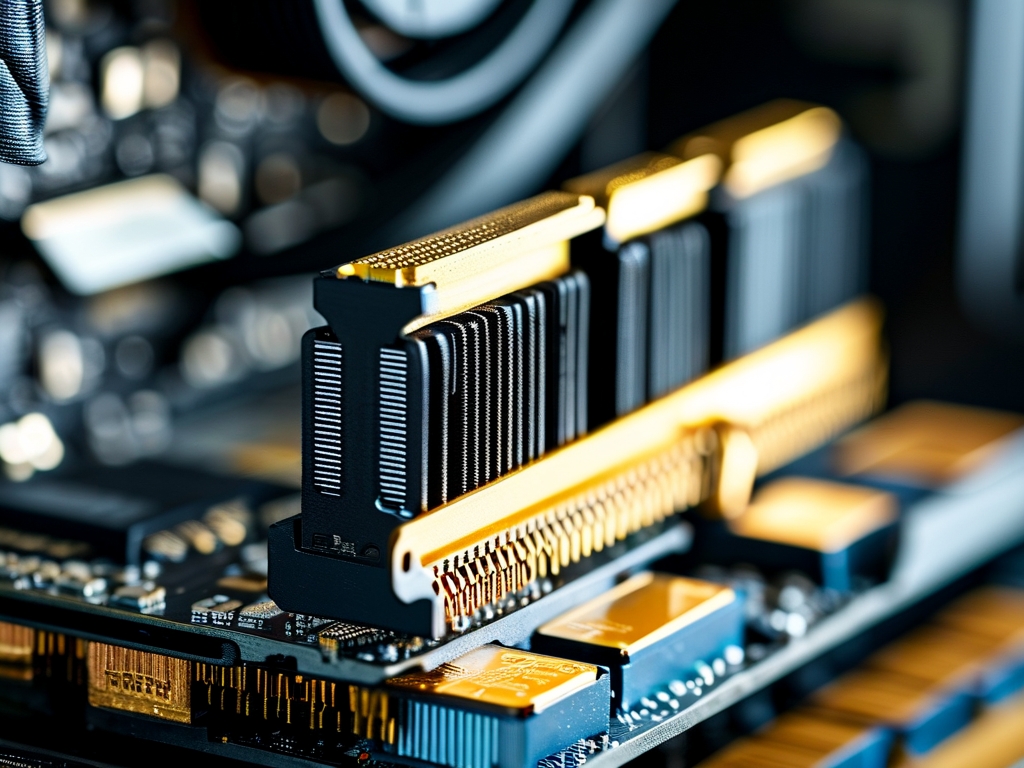
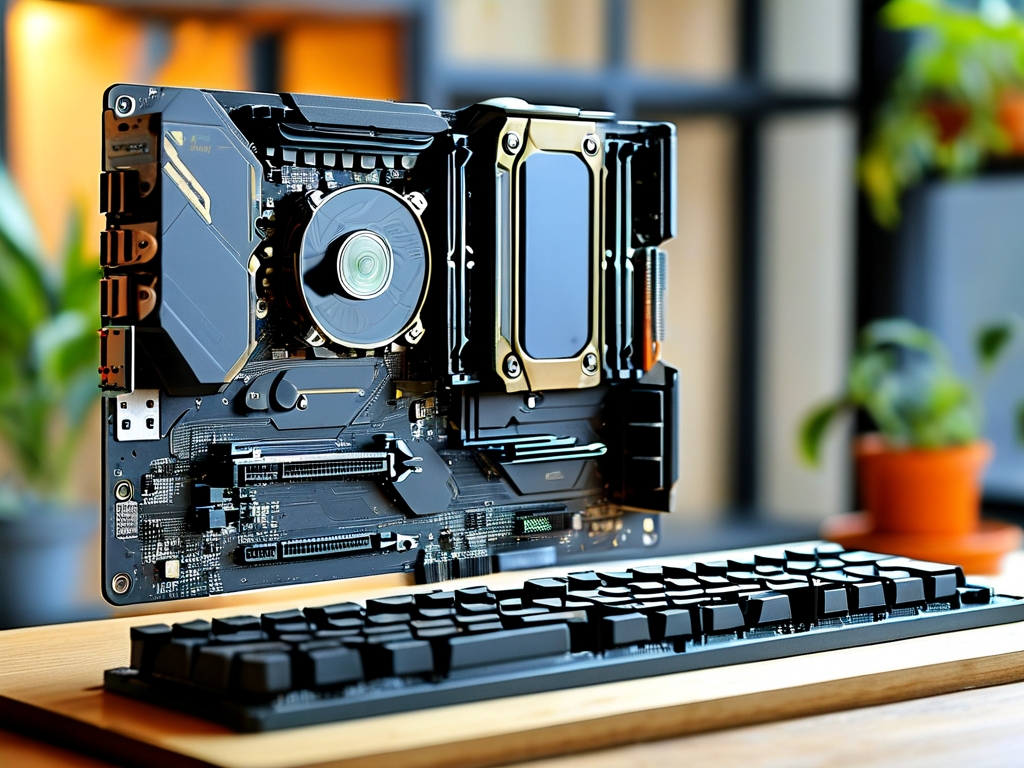
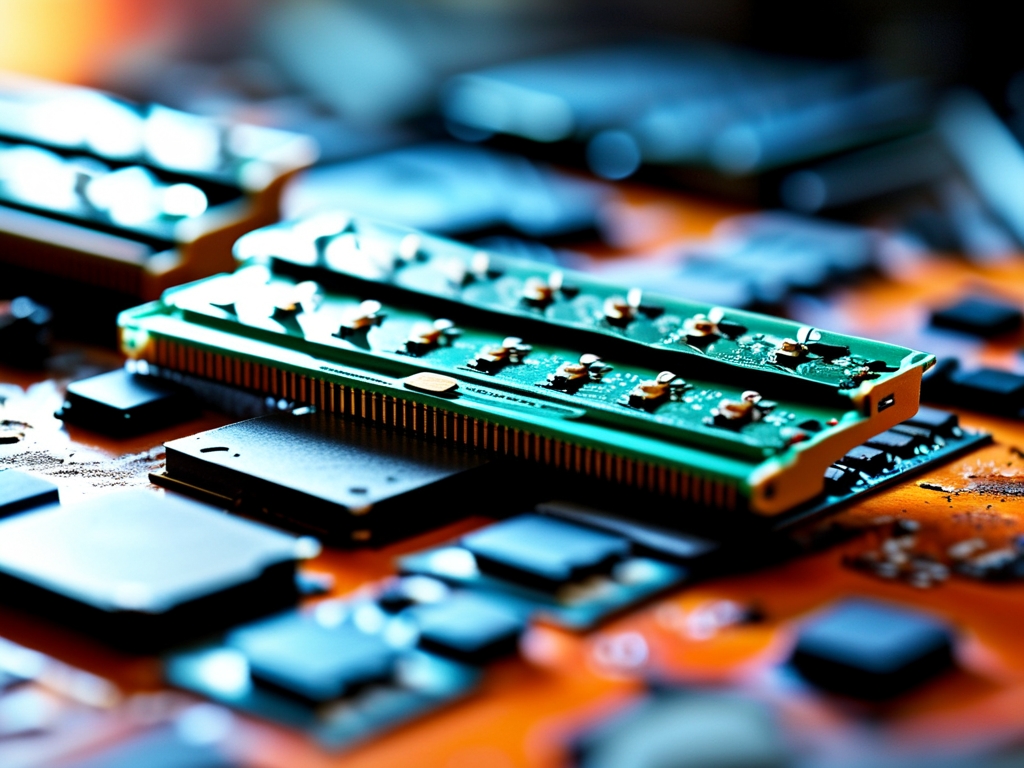
Understanding how to increase RAM frequency can significantly enhance your computer's performance, particularly for memory-intensive tasks like gaming, video editing, and 3D rendering. While many users focus on adding more RAM, optimizing its operating frequency often delivers noticeable speed improvements without additional hardware costs. This guide explores practical methods to boost your memory clock speeds while maintaining system stability.
1. Verify Current RAM Specifications
Before attempting adjustments, identify your RAM's baseline capabilities. Open Command Prompt (Windows) or Terminal (macOS/Linux) and run system-specific commands:
wmic memorychip get speed  # Windows
dmidecode --type memory    # Linux
This reveals your RAM's default frequency and manufacturer specifications. Compare these values with your motherboard's maximum supported speeds, which can be found in its technical manual or via tools like CPU-Z.
2. Access BIOS/UEFI Settings
Reboot your computer and press the designated key (typically Delete, F2, or F10) during startup to enter BIOS/UEFI. Navigate to memory settings, often labeled as "DRAM Configuration" or "Advanced Memory Settings." Here you'll find options for XMP (Intel) or DOCP/EXPO (AMD) profiles – pre-configured overclocking presets certified by memory manufacturers.
3. Enable Memory Profiles
Selecting an XMP/DOCP profile automatically applies optimized timings and voltages for higher frequencies. For example:
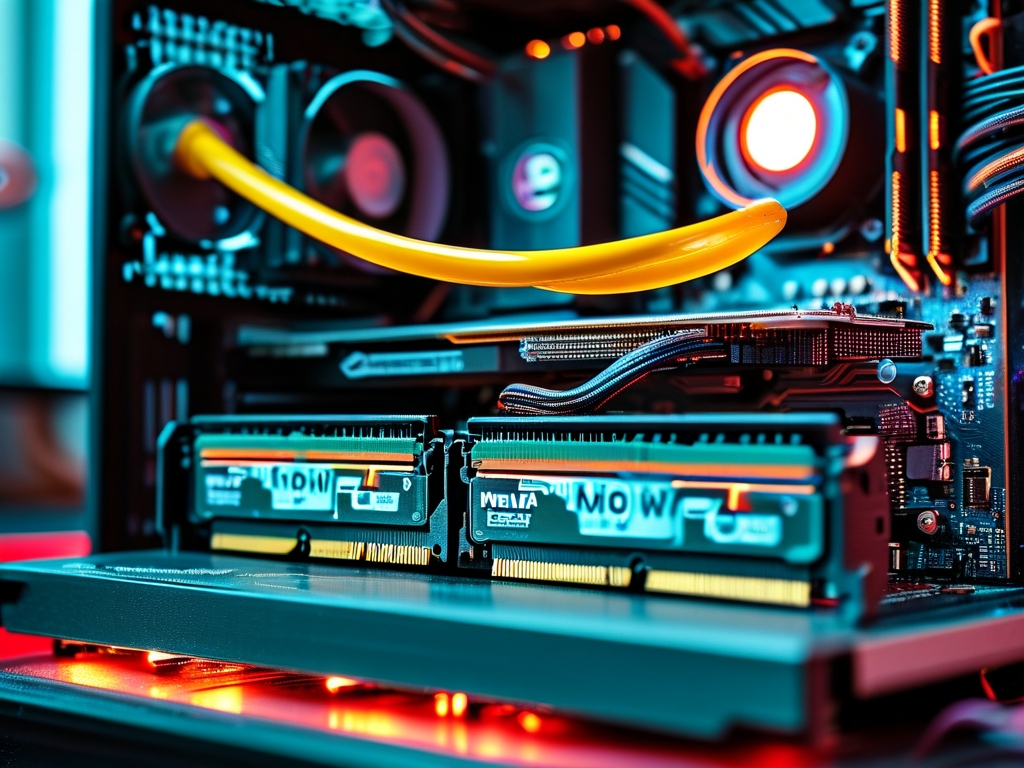
- DDR4-2400 RAM might have an XMP profile for 3200MHz
- DDR5-4800 modules could offer 6000MHz profiles
Activate the desired profile and save changes. Upon reboot, verify the new frequency using monitoring software like HWInfo or Thaiphoon Burner.
4. Manual Overclocking Considerations
If preset profiles don't meet your needs, manual adjustments require careful tuning:
- Incrementally raise frequency (e.g., 100MHz steps)
- Adjust voltage (1.35V for DDR4, 1.25V for DDR5 as safe baselines)
- Modify CAS latency timings (CL16 to CL18 for stability)
5. Stress Testing for Stability
After adjustments, run memory diagnostics for at least 2 hours:
MemTest86 (recommended for comprehensive testing)
Windows Memory Diagnostic (built-in basic check)
Watch for errors or system crashes, which indicate unstable settings. Reduce frequency or loosen timings if failures occur.
6. Cooling and Hardware Limitations
Higher frequencies generate more heat. Ensure proper airflow around RAM modules, especially when using voltage boosts. Some motherboards impose artificial limits – a Z-series chipset (Intel) or X-series (AMD) typically offers better overclocking support than budget boards.
7. Compatibility Checks
Mixing RAM kits with different frequencies or timings forces all modules to operate at the lowest common denominator. For best results, use identical memory sticks from the same production batch.
8. Firmware Updates
Manufacturers frequently release BIOS updates that improve memory compatibility. Before overclocking, check your motherboard vendor's support page for the latest firmware version.
Real-World Performance Gains
While synthetic benchmarks show linear improvements, actual application benefits vary:
- Gaming: 5-15% FPS boost in CPU-bound scenarios
- Content Creation: 20-30% faster render times in RAM-sensitive workflows
- General Use: Snappier multitasking with multiple Chrome tabs or virtual machines
Safety Precautions
- Never exceed voltage limits specified by your RAM manufacturer
- Monitor temperatures during extended workloads
- Maintain system restore points before making changes
By methodically applying these techniques, most users can safely achieve 10-25% RAM frequency increases. Remember that stability should always take priority over raw speed – a crashed system gains nothing from higher clock rates. For non-technical users, sticking to certified XMP/DOCP profiles offers the best balance of performance and reliability.
