In the ever-evolving landscape of computer technology, upgrading hardware components remains a cost-effective way to enhance system performance. Among these upgrades, installing computer memory expansion modules—commonly referred to as RAM (Random Access Memory) sticks—is one of the most impactful modifications users can undertake. This guide explores the benefits, selection criteria, and installation process for memory expansion, offering actionable insights for both novices and seasoned tech enthusiasts.
Why Upgrade Computer Memory?
Modern software applications, from video editing tools to gaming platforms, demand substantial memory resources. Insufficient RAM often leads to sluggish performance, frequent crashes, or an inability to multitask efficiently. By expanding memory capacity, users can:
- Reduce latency during data-intensive tasks
- Improve multitasking capabilities
- Extend the lifespan of older systems
For example, a laptop with 8GB of RAM struggling to run design software like Adobe Photoshop may experience noticeable improvements after upgrading to 16GB. Similarly, gaming enthusiasts can achieve higher frame rates and smoother gameplay by ensuring their systems meet or exceed recommended memory specifications.
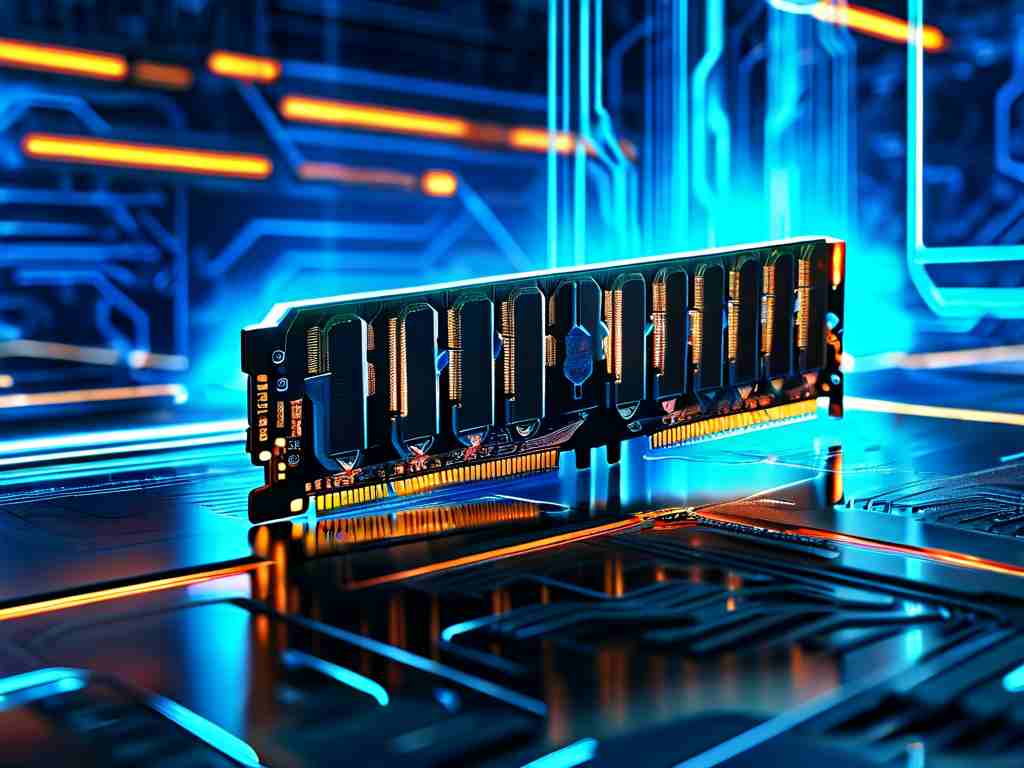
Choosing the Right Memory Modules
Selecting compatible RAM requires careful consideration of several factors:
- Motherboard Compatibility: Check the motherboard’s specifications for supported RAM types (e.g., DDR4, DDR5) and maximum capacity.
- Speed and Latency: Higher MHz ratings (e.g., 3200MHz) and lower CAS latency (e.g., CL16) improve performance but must align with motherboard limits.
- Capacity Requirements: Assess current and future needs—16GB is ideal for general use, while 32GB or more suits content creators and professionals.
A common pitfall is mixing incompatible RAM sticks. For instance, pairing a 2400MHz module with a 3200MHz module may force both to operate at the lower speed, negating potential gains. Always opt for identical or manufacturer-certified modules for dual-channel configurations.
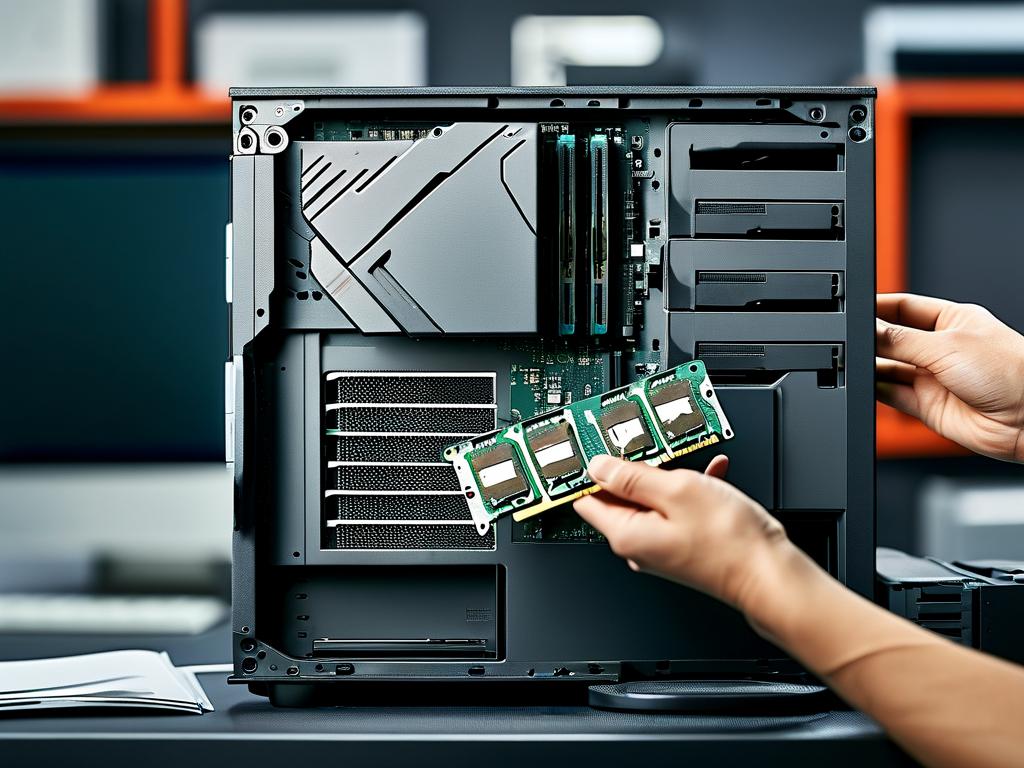
Step-by-Step Installation Guide
Installing memory expansion modules is straightforward but requires precision:
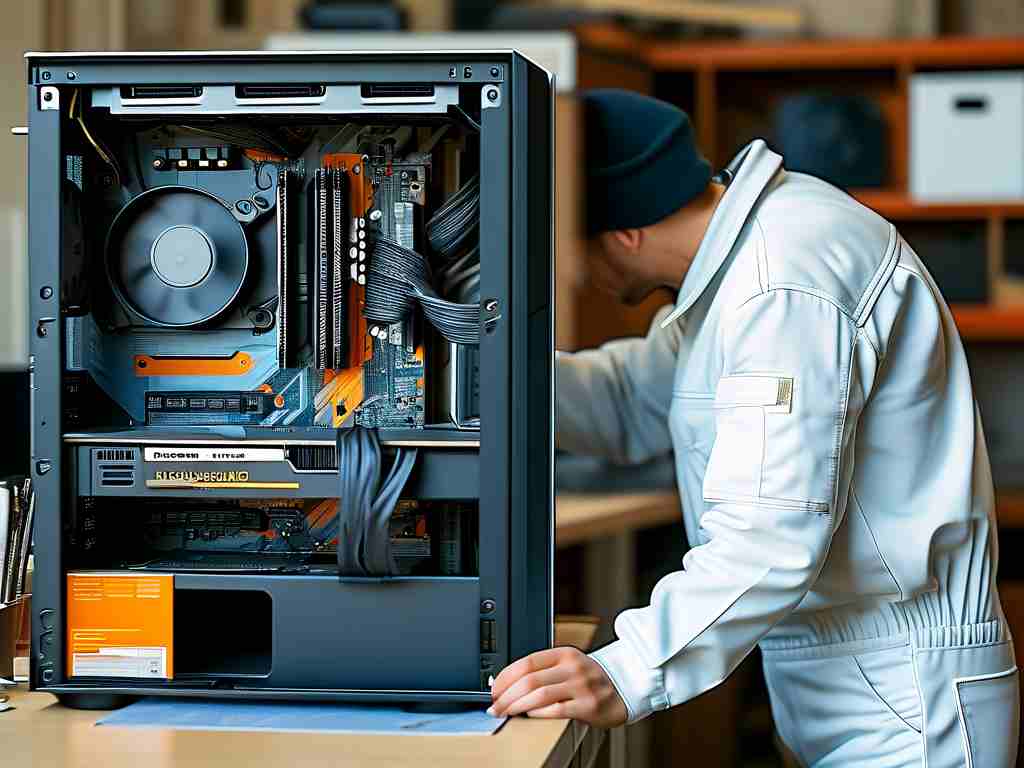
- Power Down and Ground Yourself: Shut off the computer and discharge static electricity by touching a metal surface.
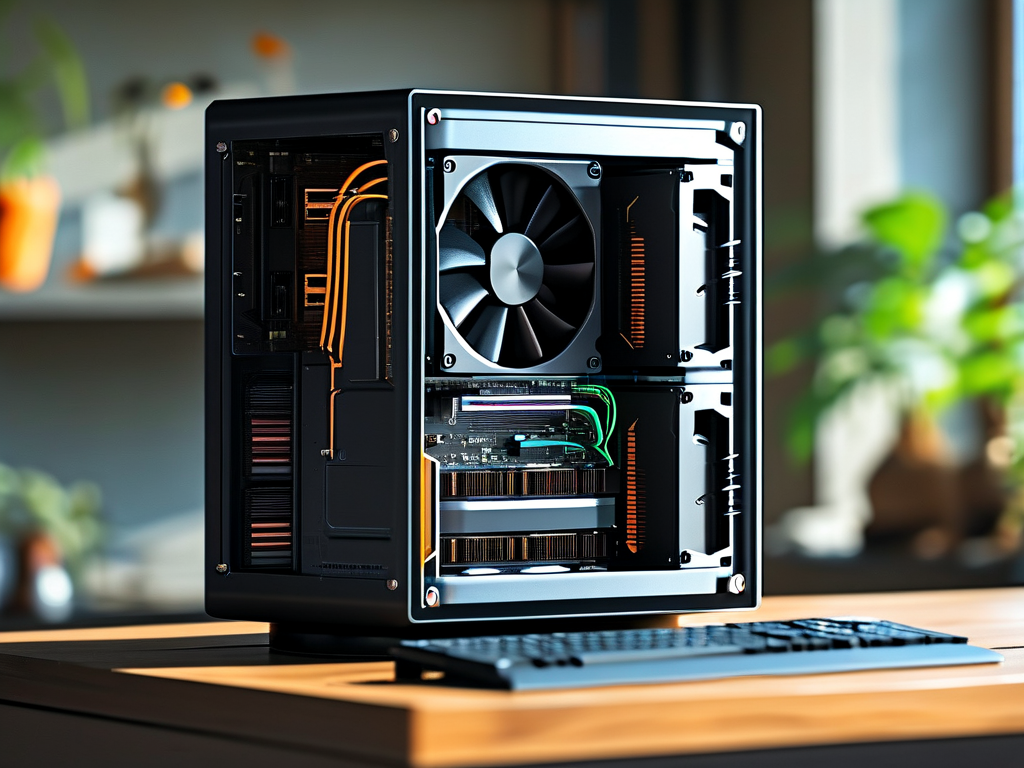
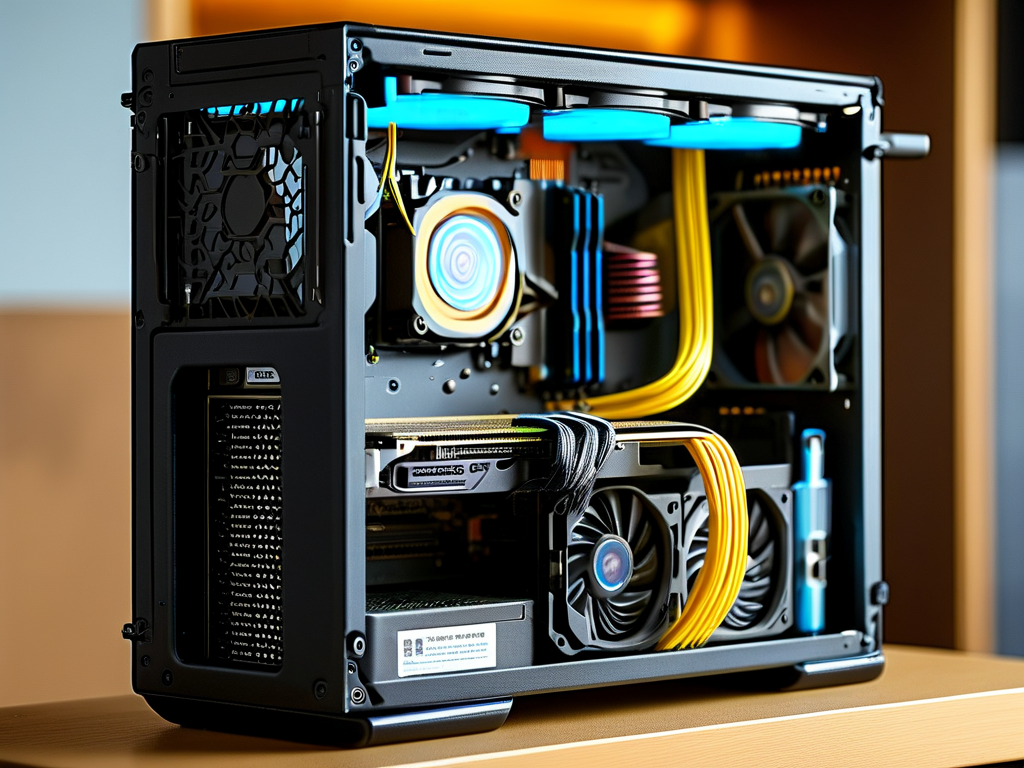
- Access Memory Slots: Open the computer case or laptop panel to locate RAM slots. Most motherboards feature two to four slots.
- Insert Modules: Align the notch on the RAM stick with the slot, then press firmly until the side clips snap into place.
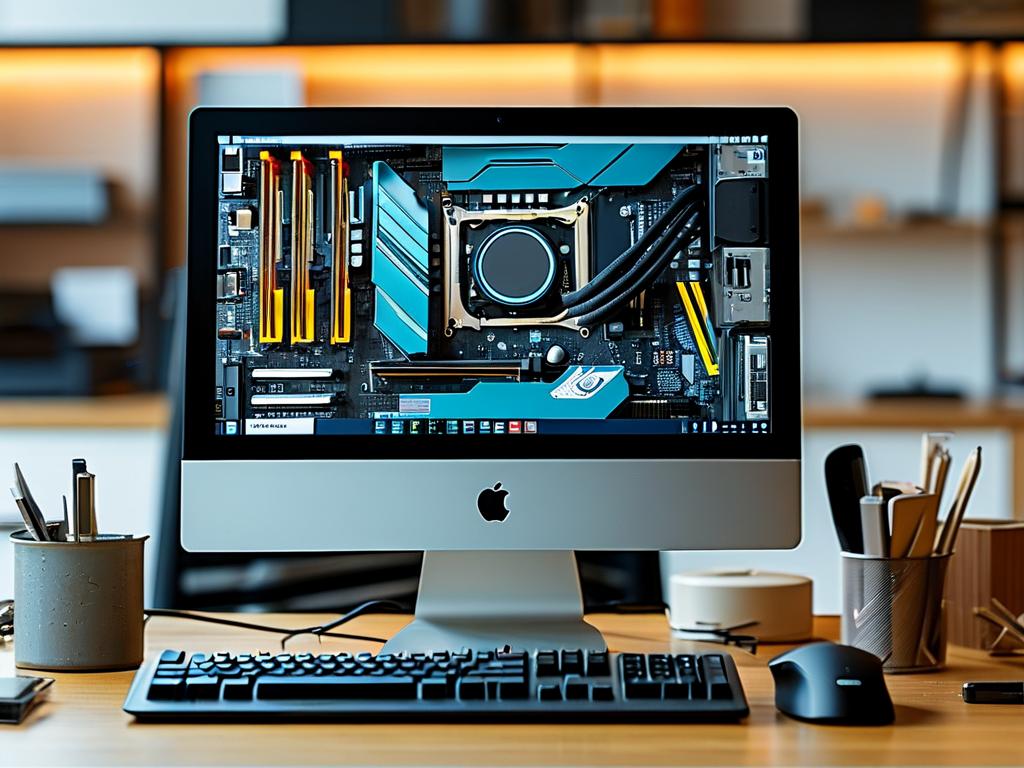
Post-installation, boot the system and verify recognition via the operating system’s task manager or BIOS menu. If issues arise—such as failure to boot—re-seat the modules or test individual sticks to identify faults.
Troubleshooting Common Issues
Even with careful installation, challenges may emerge:
- Incompatibility Errors: Update the motherboard’s BIOS to resolve unrecognized RAM issues.
- Overheating: Ensure adequate airflow around modules, especially in high-performance setups.
- Capacity Limitations: Some systems cap usable memory (e.g., 32-bit OS versions support only 4GB).
For advanced users, tools like MemTest86 can diagnose faulty modules, while undervolting or adjusting XMP profiles in BIOS may optimize stability.
Future-Proofing Your Investment
As software demands grow, investing in scalable memory solutions ensures longevity. Opt for modular setups with empty slots for future upgrades, and monitor industry trends like DDR5 adoption or non-volatile RAM technologies.
In , expanding computer memory is a practical upgrade that bridges the gap between aging hardware and modern software demands. By understanding compatibility, following installation best practices, and anticipating future needs, users can unlock significant performance gains without overhauling their entire system.