Upgrading your computer's memory, often referred to as RAM (Random Access Memory), is a straightforward yet rewarding DIY project that can significantly boost your system's speed and multitasking capabilities. Whether you're a gamer seeking smoother gameplay or a professional handling large files, adding more RAM can transform sluggish performance into a seamless experience. In this comprehensive guide, I'll walk you through the detailed steps to install computer memory safely and efficiently, drawing from years of hands-on tech tinkering to ensure you avoid common pitfalls. Remember, while this process is generally simple, it requires careful attention to prevent damage from static electricity or mishandling components. Always consult your motherboard manual first, as specific models might have unique requirements, and never rush through the steps—patience is key to a successful upgrade.
Before diving into the installation, gather all necessary tools and materials to avoid interruptions. You'll need a set of basic screwdrivers, preferably magnetic-tipped ones to prevent losing small screws inside the case. An anti-static wrist strap is non-negotiable; attach it securely to your wrist and connect the clip to a grounded metal surface like the computer's chassis to discharge any static buildup that could fry delicate circuits. Additionally, have your new RAM modules ready—ensure they're compatible with your motherboard by checking specifications such as DDR type (e.g., DDR4 or DDR5), speed, and capacity. Keep the modules in their anti-static bags until use, and clear a clean, well-lit workspace free of clutter. Safety goggles aren't essential but recommended if you're prone to accidental slips. Finally, power down your computer completely and unplug it from the electrical outlet; this step eliminates the risk of electric shock and protects your hardware from unexpected surges during the procedure.
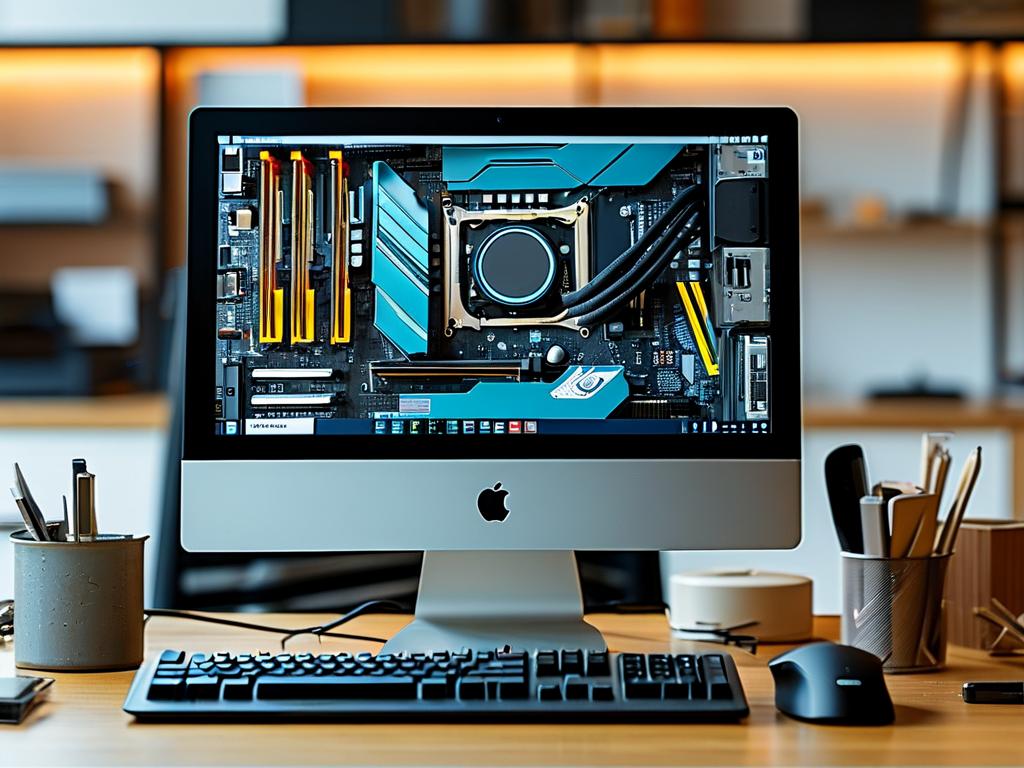
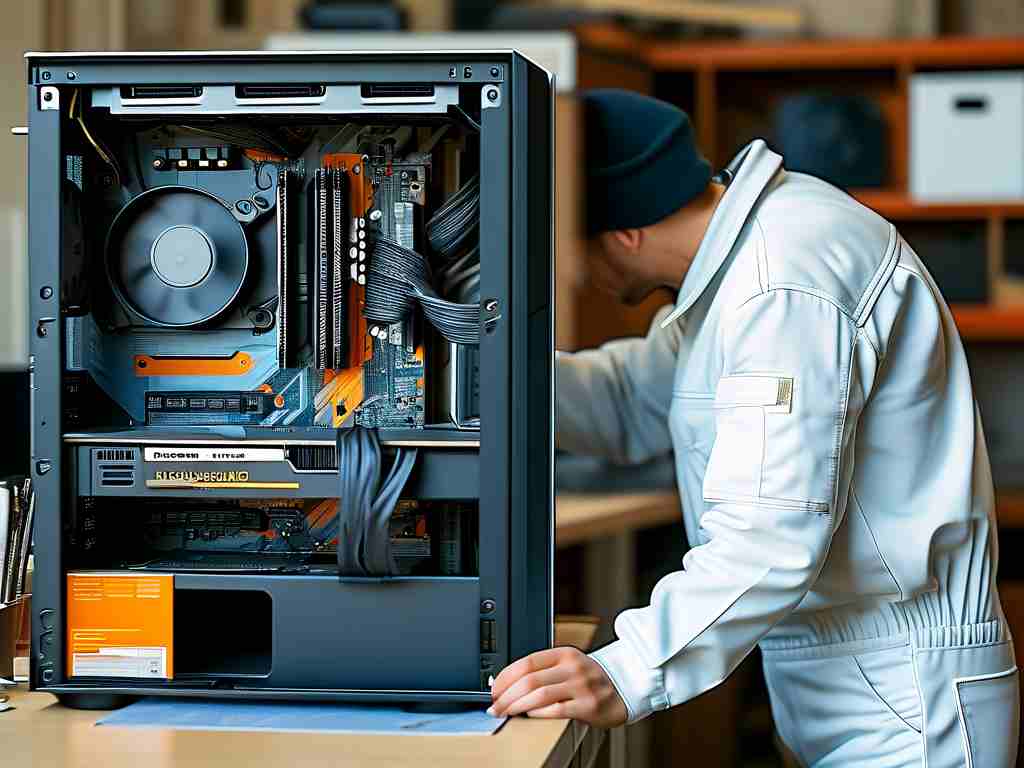
Now, begin by opening the computer case to access the internal components. Start by placing the desktop unit on a stable surface, such as a table, with ample room to maneuver. Locate the screws or latches securing the side panel—most modern cases have thumb screws for easy removal, but older models might require a Phillips-head screwdriver. Carefully unscrew or unlatch the panel and set it aside gently to avoid scratching surfaces. As you peer inside, take a moment to identify the memory slots on the motherboard; they're typically long, rectangular sockets grouped in pairs or banks, often color-coded to indicate dual-channel configurations for optimal performance. Use this opportunity to dust off any accumulated debris using compressed air, as buildup can interfere with connections. If you're replacing existing RAM, note the orientation of the modules before proceeding—observe how they're seated with clips at each end holding them in place. This initial setup phase might feel tedious, but it sets the foundation for a smooth installation and helps you visualize the next steps without confusion.
Handling the RAM modules correctly is crucial to avoid damage and ensure proper seating. Remove the new RAM from its anti-static packaging by holding it along the edges only; never touch the gold contacts or circuitry, as oils from your skin can cause corrosion over time. Inspect the module for any visible defects, such as bent pins or cracks, and compare it to your motherboard's slot layout to confirm alignment. The key to a secure fit lies in the notch on the bottom edge of the RAM; this must match the corresponding ridge in the slot to prevent incorrect insertion. If you're upgrading and need to remove old modules, first push down on the plastic retention clips at both ends of the slot—they should release with a soft click, allowing you to lift the module straight out without force. Set the old RAM aside safely, perhaps in its original packaging for recycling or resale. Now, for installation, align the new module over the slot, ensuring the notch is positioned correctly. Apply even pressure with both thumbs on the top edge of the RAM, pressing down firmly until the clips snap into place automatically; you'll hear an audible click indicating it's locked in. Avoid rocking or tilting the module, as this can bend pins or damage the slot. Repeat this process for any additional modules, filling slots according to your motherboard's recommended configuration, such as starting from slot one for single-channel setups.
After installing the RAM, it's time to reassemble the system and test for functionality. Replace the computer's side panel by aligning it properly and securing it with screws or latches—don't overtighten, as this could strip threads or crack the case. Reconnect all power cables and peripherals, then power on the computer. During the boot-up sequence, watch for the POST (Power-On Self-Test) screen; most systems will display a memory count or BIOS splash screen confirming the new RAM is detected. If the computer fails to start or beeps repeatedly, it might indicate an installation error, such as improperly seated modules or compatibility issues—in this case, power off immediately and recheck the seating and motherboard manual. For verification, access the BIOS/UEFI settings by pressing a key like Delete or F2 during startup; navigate to the memory section to confirm the total capacity and speed match your upgrade. Alternatively, boot into your operating system and use built-in tools like Windows Task Manager or third-party software such as CPU-Z to validate the RAM details under the performance tab. Once confirmed, run stress tests with applications like MemTest86 to ensure stability over extended use. This final testing phase not only validates your work but also gives peace of mind that your investment is performing as expected.
In , installing computer memory is an empowering DIY task that enhances your PC's responsiveness without breaking the bank. By following these detailed steps—preparing properly, handling components with care, and thorough testing—you'll extend your system's lifespan and enjoy faster load times for applications and games. Remember to ground yourself to prevent static damage, double-check compatibility before purchasing, and consider consulting online forums or videos for model-specific tips if you encounter hurdles. With practice, this process becomes second nature, opening doors to further upgrades like adding storage or a new GPU. So, take the plunge and experience the satisfaction of a self-improved machine—it's a small effort for big rewards in daily computing.