Embedded screen development represents a critical phase in modern device engineering, combining hardware integration, software optimization, and user experience design. This article explores the systematic workflow for implementing displays in embedded systems, emphasizing practical approaches to overcome common challenges.

Stage 1: Requirements Analysis
Every project begins with defining functional and technical specifications. Developers must identify screen parameters such as resolution, refresh rate, and power consumption constraints. For instance, a medical device might prioritize sunlight-readable displays with ultra-low latency, while a smart home panel could emphasize touch sensitivity and multi-touch support. Collaboration between hardware engineers and UI designers at this stage ensures alignment with end-user expectations.
Stage 2: Hardware Selection
Choosing the right display technology forms the project's backbone. Options range from TFT-LCD and OLED to e-paper solutions, each with distinct advantages. A common pitfall involves overlooking interface compatibility – a 4-wire SPI screen might save costs but could bottleneck data throughput for video applications. Recent projects increasingly adopt MIPI DSI interfaces for high-speed communication, as seen in Raspberry Pi Compute Module integrations.
Stage 3: Driver Development
Low-level driver implementation bridges hardware and software. Developers typically start with manufacturer-provided datasheets to configure timing controllers and frame buffers. Below is a simplified code snippet for initializing a parallel RGB interface on an ARM Cortex-M processor:
void init_display_interface() {
    GPIO_Config(RGB_DATA_PORT, OUTPUT, PUSH_PULL);
    TIM_Config(PIXEL_CLOCK, 33 MHz);
    LTDC_LayerConfig(LAYER1, 800, 480, RGB565);
}
Stage 4: Software Integration
Middleware development focuses on optimizing graphics rendering. Many teams leverage frameworks like LVGL or Embedded Wizard to create responsive GUIs. A recent case study revealed that using hardware-accelerated CSS transformations reduced rendering latency by 40% in automotive clusters. Memory management becomes crucial here – double buffering techniques prevent screen tearing while maintaining smooth animations.
Stage 5: Validation and Optimization
Rigorous testing covers both functional and environmental aspects. Developers employ tools like Wireshark for signal integrity analysis and thermal cameras to detect overheating components. Field testing remains irreplaceable; one smart thermostat project discovered sunlight-induced touchscreen malfunctions only during on-site trials, necessitating firmware-based sensitivity adjustments.

Emerging Trends
The rise of foldable displays introduces new complexity in hardware-software co-design. Developers must now account for dynamic resolution switching and hinge angle sensors. Meanwhile, AI-driven display optimization – such as content-aware brightness adjustment – is gaining traction in energy-conscious applications.
Best Practices
- Prototype early with evaluation kits to validate interface choices
- Implement power gating for backlight circuits in battery-operated devices
- Use version-controlled configuration files for display parameters
- Conduct EMI pre-compliance testing during PCB layout
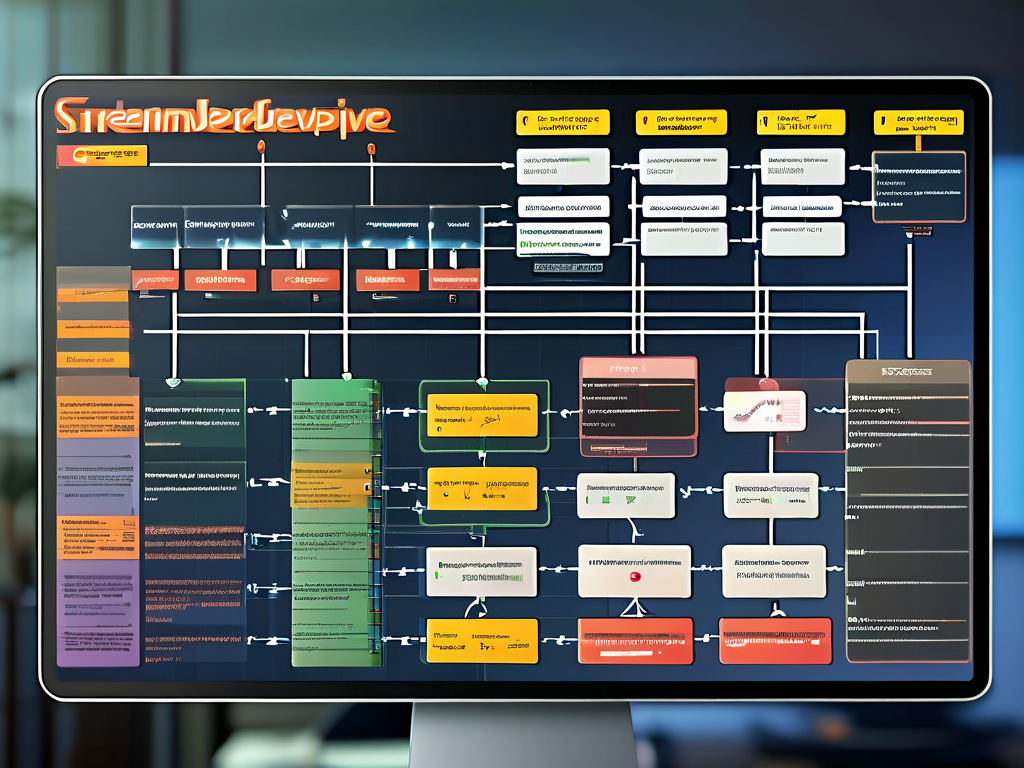
As display technologies evolve, embedded developers must balance cutting-edge features with reliability constraints. By following this structured workflow and learning from real-world implementations, teams can deliver robust screen-integrated systems that meet both technical specifications and market demands.


