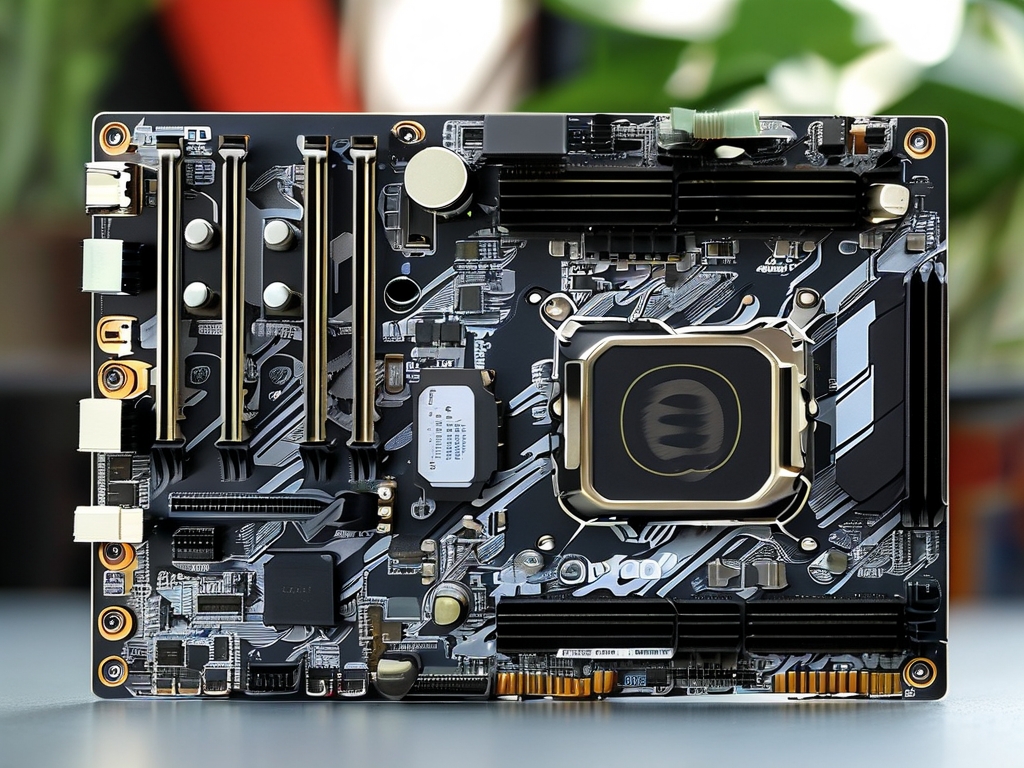
Understanding how to calculate and adjust memory voltage on an Onda motherboard is critical for optimizing system performance, ensuring stability, and extending hardware longevity. This guide explores the technical aspects of memory voltage management, practical calculation methods, and safe adjustment procedures tailored for Onda motherboards.
1. Why Memory Voltage Matters
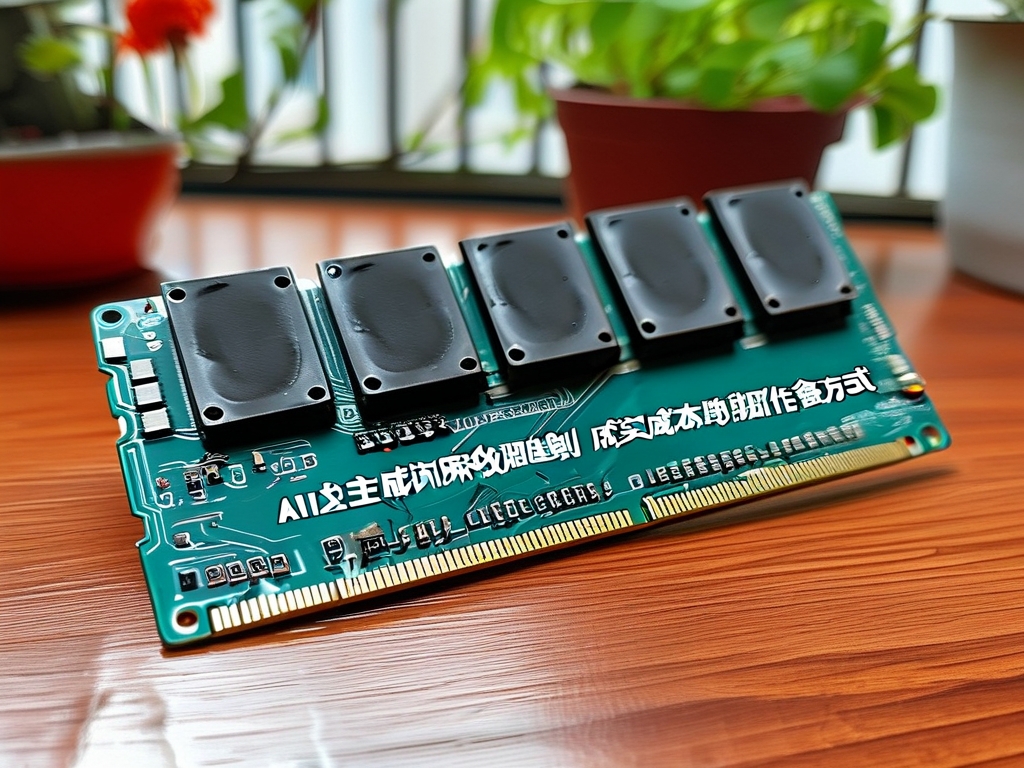
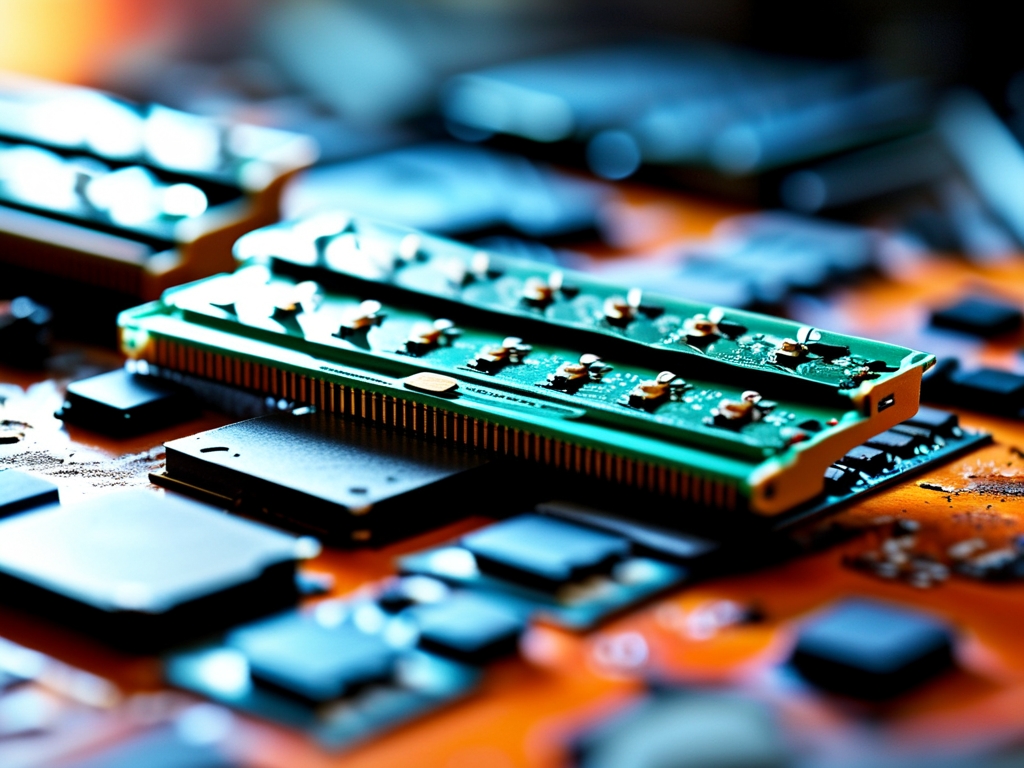
Memory voltage directly impacts a computer's stability and performance. Dynamic Random-Access Memory (DRAM) modules require precise voltage levels to function correctly. Insufficient voltage may cause system crashes, data corruption, or failure to boot, while excessive voltage can overheat components and reduce their lifespan. Onda motherboards, popular among budget-conscious builders and enthusiasts, offer flexible voltage controls but require careful calibration to balance performance and safety.
2. Default Voltage Settings on Onda Motherboards
Most Onda motherboards preset memory voltage according to JEDEC (Joint Electron Device Engineering Council) standards. For DDR4 modules, this is typically 1.2V, while older DDR3 modules use 1.5V. However, these values may vary depending on the motherboard model and BIOS version. Users should always verify default settings via the BIOS or hardware monitoring software like HWMonitor before making adjustments.
3. When to Adjust Memory Voltage
Common scenarios for adjusting memory voltage include:
- Overclocking: Increasing voltage to stabilize higher memory frequencies.
- Compatibility Issues: Resolving instability with non-standard RAM modules.
- Power Efficiency: Lowering voltage for energy-saving builds.
4. Calculating Safe Voltage Ranges
To determine safe voltage limits:
- Check RAM Specifications: Manufacturers list nominal and maximum voltages on product labels or datasheets. For example, a DDR4 module rated for 1.2V–1.4V should not exceed 1.4V without risk.
- Motherboard Limitations: Onda motherboards often cap voltage adjustments to prevent hardware damage. Consult the user manual for model-specific limits.
- Thermal Considerations: Higher voltages generate more heat. Ensure your cooling system can handle increased thermal output.
A basic formula for incremental adjustments is: [ \text{New Voltage} = \text{Default Voltage} + (\text{Overclocking Percentage} \times 0.05V) ] For example, a 10% overclock on a 1.2V module would suggest 1.2V + (0.1 × 0.05V) = 1.205V. However, this is a simplified estimate; real-world testing is essential.
5. Step-by-Step Adjustment via BIOS
- Access BIOS: Restart the computer and press Delete or F2 during boot (varies by model).
- Navigate to Advanced Settings: Locate the Advanced or Tweaker tab.
- Find DRAM Voltage Control: This may be labeled as DRAM Voltage, VDDQ, or Memory Voltage.
- Adjust Values: Use +/- keys to modify voltage. Increment changes by 0.01V–0.05V for stability testing.
- Save and Exit: Press F10 to save changes and reboot.
6. Testing Stability
After adjusting voltage, validate system stability using:

- MemTest86: Scans for memory errors over multiple passes.
- Prime95: Stress-tests RAM and CPU under heavy loads.
- AIDA64: Monitors temperatures and voltage fluctuations in real time.
If errors occur, incrementally increase voltage (within safe limits) or reduce overclocking targets.

7. Risks and Precautions
- Overvoltage Damage: Exceeding manufacturer limits can permanently damage RAM or the motherboard's memory controller.
- Voided Warranties: Unauthorized voltage adjustments may invalidate warranties.
- Data Loss: Instability during adjustments can corrupt files. Always back up critical data.
8. Onda-Specific Tips
- BIOS Updates: Check Onda's official website for BIOS updates that improve voltage control compatibility.
- XMP Profiles: Some Onda boards support Intel's Extreme Memory Profile (XMP) for automatic voltage optimization.
- Community Resources: Forums like TechPowerUp or Onda user groups often share tested voltage configurations.
9. Case Study: DDR4 Overclocking on Onda B550
A user reported instability when overclocking a 3200MHz DDR4 kit to 3600MHz on an Onda B550 motherboard. The default 1.2V caused frequent crashes. By gradually increasing voltage to 1.35V (within the RAM's 1.4V limit) and improving airflow, the system achieved stable 3600MHz operation.
10.
Calculating and adjusting memory voltage on Onda motherboards demands a balance of technical knowledge and caution. By understanding your hardware's limits, applying incremental changes, and rigorously testing stability, you can unlock better performance without compromising reliability. Always prioritize safety over marginal gains, and consult professional resources when in doubt.


