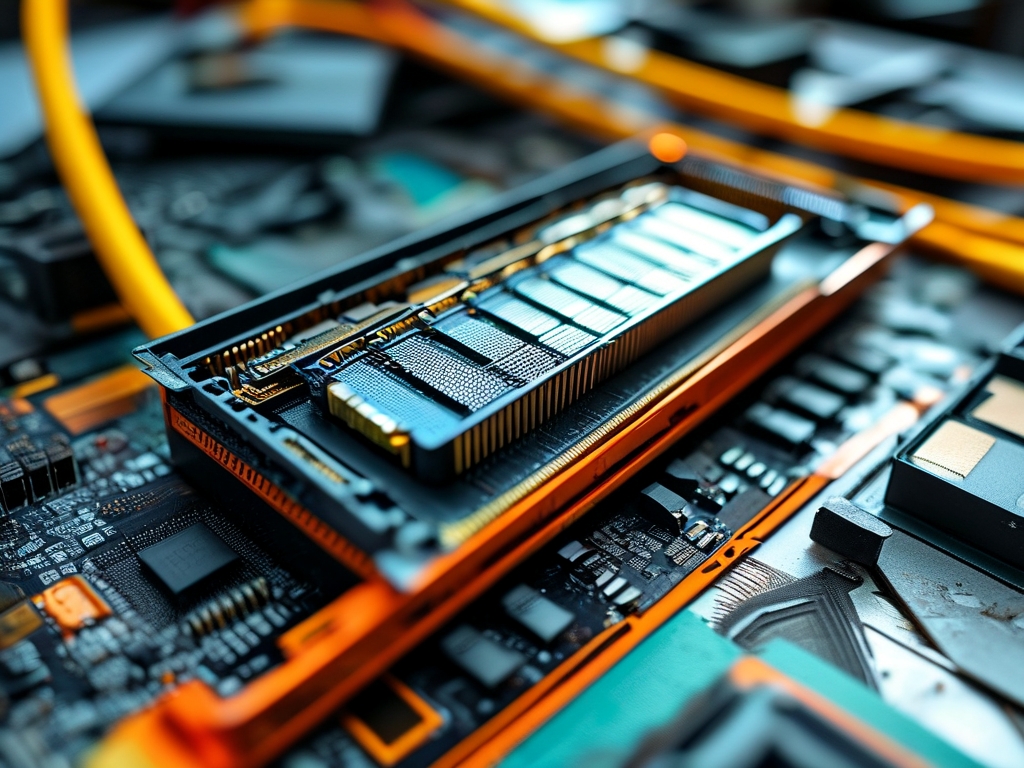
Installing computer memory (RAM) is one of the most cost-effective ways to boost your system's performance. Whether you're upgrading an old machine or building a new one, understanding how to install RAM correctly is essential. This guide will walk you through the process in detail, covering tools, safety precautions, and troubleshooting tips.

1. Understanding RAM and Compatibility
Before purchasing or installing RAM, verify compatibility with your motherboard. Key factors include:
- RAM Type: DDR3, DDR4, or DDR5 (modern systems typically use DDR4/DDR5).
- Speed: Measured in MHz (e.g., 2400MHz, 3200MHz). Ensure the motherboard supports the RAM's speed.
- Capacity: Determine how much RAM your system can handle (e.g., 16GB, 32GB).
- Form Factor: Desktop RAM uses DIMM modules, while laptops use SO-DIMM.
Check your motherboard's manual or manufacturer website for specifications. Mixing RAM brands or speeds may cause instability, so using identical sticks is recommended.
2. Tools and Safety Precautions
Tools Required:
- Anti-static wrist strap (to prevent electrostatic discharge).
- Screwdriver (if needed to open the computer case).
- Compressed air (optional, for cleaning dust).
Safety Steps:
- Power Down: Shut down the computer and unplug all cables.
- Ground Yourself: Wear an anti-static wrist strap or touch a metal part of the case to discharge static electricity.
- Work in a Clean Area: Avoid carpets and use a static-free surface.
3. Opening the Computer Case
- Desktop Towers: Remove the side panel by unscrewing thumbscrews or sliding a latch.
- Laptops: Accessing RAM slots varies by model. Some have dedicated panels, while others require removing the entire back cover. Refer to the device's manual.
4. Locating the RAM Slots
Motherboards typically have 2–4 RAM slots, often color-coded for dual-channel configurations. For optimal performance, install RAM in pairs (e.g., slots 1 and 3 or 2 and 4). If adding a single stick, use the primary slot (usually labeled in the manual).
5. Removing Old RAM (If Upgrading)
- Unlock the Clips: Gently push down on the plastic retention clips at both ends of the RAM slot. The module will pop up at a 45-degree angle.
- Remove the Stick: Carefully pull the RAM straight out. Avoid bending the connectors.
6. Installing New RAM
- Align the Notch: RAM sticks have a notch on the connector edge that matches a ridge in the slot. Ensure proper orientation.
- Insert at an Angle: Place the RAM into the slot at a 45-degree angle.
- Press Down Firmly: Apply even pressure on both ends until the retention clips snap into place. You should hear a click.
Note: If the clips don't close automatically, the RAM may not be fully seated. Do not force it-recheck alignment.
7. Post-Installation Checks
- Visual Inspection: Confirm the RAM is evenly seated and clips are locked.
- Cable Management: Ensure no cables obstruct the RAM or cooling components.
- Reassemble the Case: Secure the side panel and reconnect all cables.
8. Testing the Installation
- Power On: Boot the computer. Most systems will emit a beep or display a BIOS screen if RAM is detected.
- Check BIOS/UEFI: Enter the BIOS (usually by pressing Del/F2/F10 during startup) to verify the RAM capacity and speed.
- Operating System Check:
- Windows: Open Task Manager (Ctrl+Shift+Esc) > Performance > Memory.
- macOS: Go to About This Mac > Memory.
- Linux: Use the command
sudo dmidecode --type memory.
9. Troubleshooting Common Issues
- No Boot/Beep Codes: Reseat the RAM, clean the slots with compressed air, or try a different slot.
- Incorrect Capacity: Ensure the RAM is fully compatible. Some systems limit per-slot capacity.
- BSOD/Crashes: Test RAM sticks individually with tools like MemTest86 to identify faulty modules.
10. Optimizing RAM Performance
- Enable XMP/DOCP profiles in the BIOS to run RAM at advertised speeds.
- Ensure proper cooling, as overheating can throttle performance.
- Regularly update motherboard firmware for compatibility improvements.
Installing RAM is a straightforward process that requires attention to detail. By following these steps, you can avoid common pitfalls and enjoy a faster, more responsive system. Always double-check compatibility, handle components with care, and test thoroughly after installation. With practice, upgrading memory becomes a quick and rewarding DIY task.

