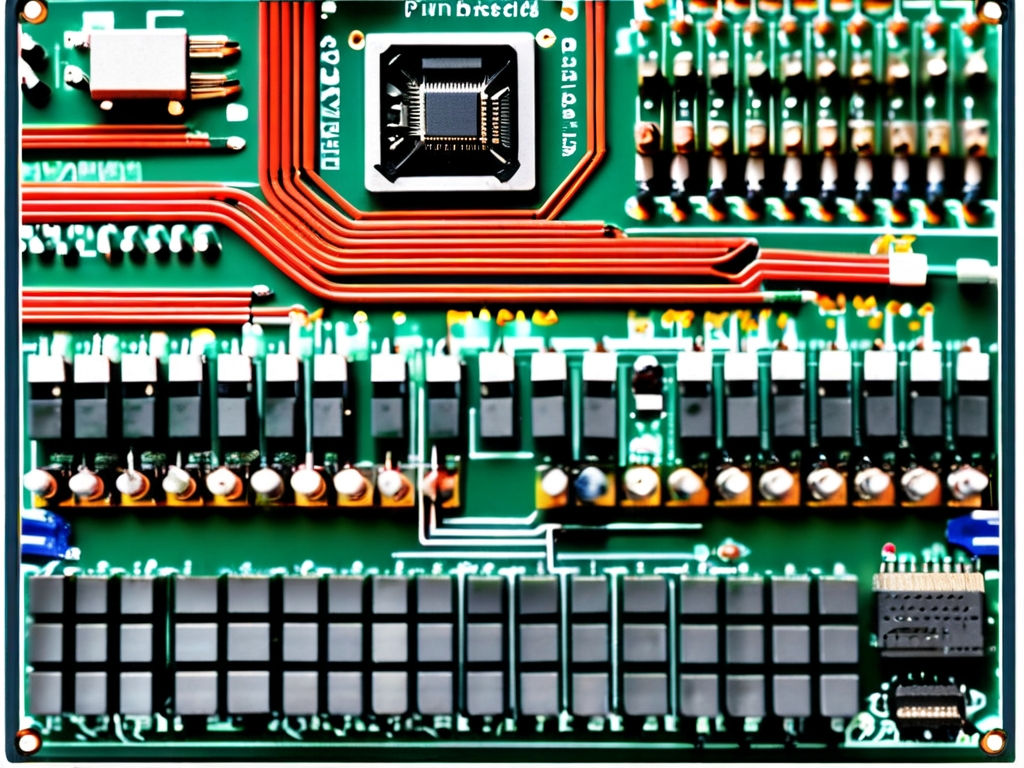
Designing a printed circuit board (PCB) starts with creating an accurate schematic, but even minor errors in this stage can lead to costly manufacturing delays or functional failures. Compiling and checking the schematic is a critical step to ensure all components, connections, and design rules align with the intended functionality. This article provides a detailed walkthrough of how to compile and inspect a PCB schematic effectively, using both automated tools and manual verification techniques.

Understanding Schematic Compilation
Schematic compilation is the process of converting a human-readable circuit diagram into a machine-interpretable format that can be used for PCB layout and manufacturing. During this phase, the software analyzes the schematic for logical consistency, electrical rules compliance, and connectivity errors. Most electronic design automation (EDA) tools, such as Altium Designer, KiCad, or OrCAD, include built-in compilation checks to flag issues like unconnected pins, duplicate component identifiers, or mismatched footprints.
Key Steps for Compilation and Inspection
-
Run Electrical Rule Checks (ERC)
ERC is the first automated layer of verification. It identifies fundamental electrical errors, such as short circuits, open nets, or conflicting power supplies. For example, if a microcontroller’s input pin is directly connected to a power rail without a current-limiting resistor, the ERC will flag this as a potential risk. Configure ERC settings in your EDA tool to match your project’s requirements, such as setting tolerance levels for voltage drops or current limits. -
Validate Component Footprints
A common pitfall in schematic design is mismatched footprints—for instance, assigning a surface-mount (SMD) package to a through-hole component. Cross-reference each component’s symbol in the schematic with its corresponding physical footprint in the library. Some tools allow bulk footprint validation via spreadsheet imports, which is especially useful for large designs. -
Check Net Connectivity
Nets define electrical connections between components. After compilation, review the netlist generated by your EDA tool to ensure all intended connections are present. Pay attention to global labels and ports, as incorrect hierarchical labeling can cause nets to merge unintentionally. For example, a net labeled “VCC” on two separate sheets might be treated as the same net, leading to unexpected power distribution. -
Verify Power and Ground Networks
Power and ground networks are often overlooked during schematic reviews. Confirm that all power rails (e.g., 3.3V, 5V) and ground connections are properly labeled and routed. Use multimeter simulations or voltage probes in tools like LTspice to validate voltage levels under load conditions. -
Inspect Reference Designators
Reference designators (e.g., R1, C2) must be unique to avoid confusion during assembly. Most EDA tools auto-assign these identifiers, but manual adjustments may be necessary when copying or reusing circuit blocks. A duplicated designator can lead to incorrect bill of materials (BOM) entries or placement errors. -
Review Design Rule Constraints
Ensure schematic-level design rules (e.g., trace width, clearance) align with the PCB layout requirements. Modern EDA platforms synchronize these rules across schematic and layout editors, but discrepancies can arise if rules are modified mid-project. For example, a high-current path might require a 20-mil trace in the schematic but default to 10 mils in the layout tool. -
Audit Version Control and Annotations
If multiple engineers are collaborating on the schematic, version control is essential. Use annotations or comments to highlight recent changes, such as “Updated oscillator circuit on Sheet 3.” Tools like Git integrated with Altium 365 or KiCad’s native project files help track revisions and prevent overwrites. -
Generate and Review Reports
After compilation, generate reports such as the BOM, netlist summary, and error logs. Cross-check the BOM against vendor availability and lifecycle status to avoid obsolete parts. For instance, a microcontroller marked as “not recommended for new designs” in the BOM report should be replaced proactively.
Advanced Techniques for Error Prevention
- Simulation-Driven Validation: Tools like SPICE simulations can uncover timing issues or signal integrity problems before moving to layout.
- Cross-Probing: Use EDA features that link schematic components to their PCB counterparts in real time, ensuring consistency.
- Custom Scripts: Write scripts to automate repetitive checks, such as verifying decoupling capacitor placement near ICs.
# Example: Simple script to check for unconnected pins in a netlist
netlist = read_netlist("design.net")
for component in netlist.components:
    for pin in component.pins:
        if not pin.is_connected():
            print(f"Warning: {component.name} pin {pin.number} is unconnected")
Thorough schematic compilation and inspection minimize risks in PCB development, saving time and resources. By combining automated checks with meticulous manual reviews, engineers can catch errors early and ensure a smooth transition from concept to production. Always document findings and iteratively refine your workflow to adapt to evolving design complexities.