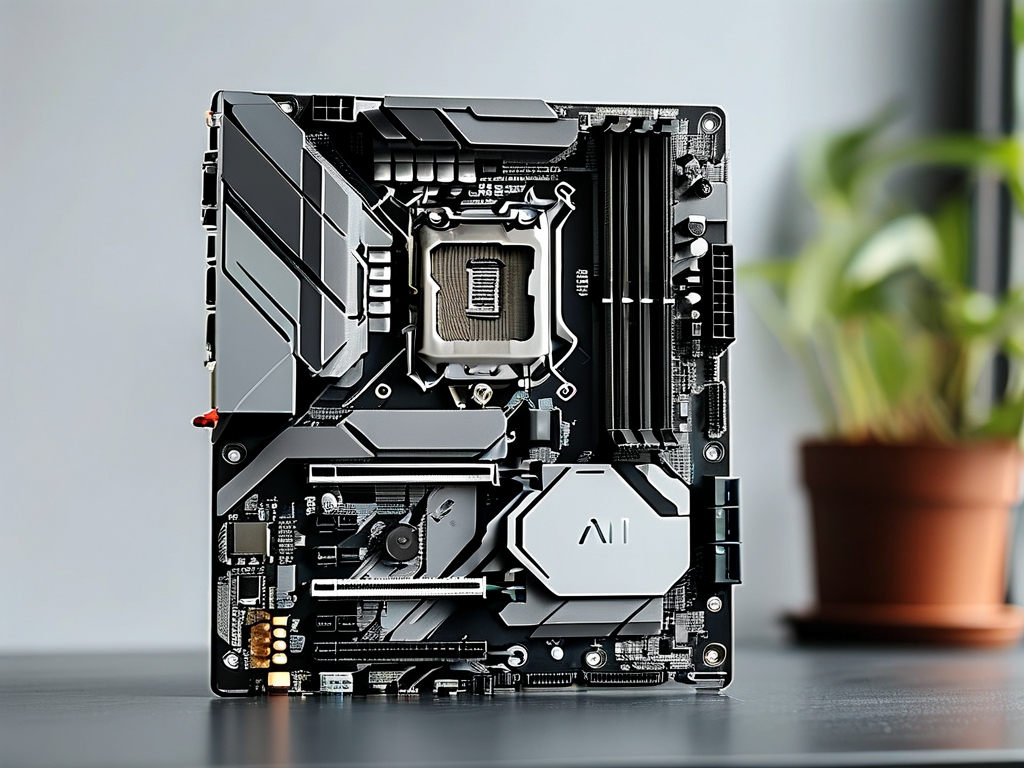
In the realm of computer hardware optimization, understanding how to calculate and adjust memory frequency is critical for maximizing system performance. A motherboard memory frequency calculator serves as an indispensable tool for enthusiasts, overclockers, and IT professionals aiming to fine-tune their systems. This article delves into the importance of memory frequency, how calculators work, and practical steps to leverage them effectively.

What Is Memory Frequency?
Memory frequency, measured in megahertz (MHz), refers to the speed at which a computer's RAM (Random Access Memory) operates. Higher frequencies enable faster data transfer between the CPU and RAM, directly impacting tasks like gaming, video editing, and multitasking. However, memory frequency is not a standalone metric-it must align with the capabilities of the motherboard and CPU to avoid bottlenecks or instability.
Why Use a Memory Frequency Calculator?
Modern motherboards support a range of memory speeds, but mismatched settings can lead to suboptimal performance or system crashes. A memory frequency calculator simplifies the process of:
- Determining Compatibility: Identifying the maximum supported frequency for your motherboard-CPU-RAM combination.
- Optimizing Overclocks: Safely pushing RAM beyond factory settings while maintaining stability.
- Resolving Bottlenecks: Ensuring the CPU and RAM operate in harmony to avoid performance gaps.
How Does a Motherboard Memory Frequency Calculator Work?
These tools rely on algorithms that factor in:
- Base Clock (BCLK): The foundational clock speed of the motherboard.
- Memory Multipliers: Ratios that scale the BCLK to achieve desired RAM speeds.
- DDR Generation: DDR4, DDR5, etc., each with unique frequency ceilings.
- Timings: CAS latency (CL), tRCD, tRP, and tRAS, which affect latency.
For example, if a motherboard's BCLK is 100 MHz and the memory multiplier is set to 32, the effective RAM frequency becomes 3,200 MHz (100 × 32). Calculators automate this math while accounting for hardware limitations.
Step-by-Step Guide to Using a Calculator
- Gather Hardware Specifications: Note your motherboard model, CPU, and RAM details (e.g., DDR4-3200).
- Input Data into the Calculator: Enter values like BCLK, multiplier, and voltage limits.
- Analyze Recommendations: The tool will suggest safe frequency ranges and timings.
- Test Settings: Apply configurations in the BIOS and use stress-testing software (e.g., MemTest86) to verify stability.
Case Study: Overclocking DDR4 RAM
Consider a user with a DDR4-2666 kit and a motherboard supporting up to 4,000 MHz. Using a calculator, they input their BCLK (100 MHz) and discover that increasing the multiplier to 36 (100 × 36 = 3,600 MHz) is feasible. After adjusting voltages slightly and tightening timings (e.g., CL16 to CL14), they achieve a 35% performance boost without instability.
Common Pitfalls and Solutions
- Incompatible Multipliers: Some motherboards lock multipliers; verify BIOS options beforehand.
- Voltage Overload: Excessive voltage can damage RAM. Calculators provide safe thresholds (e.g., ≤1.4V for DDR4).
- Cooling Neglect: Higher frequencies generate more heat-ensure adequate airflow or heatsinks.
Popular Tools and Software
While standalone calculators exist, many users rely on integrated utilities:
- CPU-Z: Identifies current RAM frequency and timings.
- DRAM Calculator for Ryzen: Tailored for AMD systems.
- BIOS-Based Calculators: ASUS, MSI, and Gigabyte motherboards often include built-in overclocking wizards.
The Future of Memory Optimization
With DDR5 adoption rising, frequency calculators are evolving to handle higher bandwidths (up to 8,400 MHz) and advanced features like on-die ECC. AI-driven tools may soon predict optimal settings based on real-time workload analysis.
A motherboard memory frequency calculator empowers users to unlock their system's full potential. By blending technical knowledge with practical tools, even novice builders can achieve professional-grade performance. Always prioritize stability testing and incremental adjustments to avoid hardware risks.


