Installing computer memory (RAM) is one of the most straightforward and cost-effective ways to boost your system’s performance. Whether you’re upgrading an existing setup or building a new PC, understanding the correct installation process is crucial. This guide will walk you through the steps in detail, ensuring a smooth and error-free experience.
Pre-Installation Preparation
-
Check Compatibility:
Before purchasing new RAM, verify your motherboard’s specifications. Key factors include:- RAM Type: DDR3, DDR4, or DDR5 (modern systems typically use DDR4/DDR5).
- Maximum Capacity: Motherboards have limits (e.g., 64GB or 128GB).
- Speed (MHz): Ensure the RAM’s speed matches the motherboard’s supported range.
- Form Factor: Desktop RAM (DIMM) vs. laptop RAM (SO-DIMM).
-
Gather Tools:
- Anti-static wristband (recommended to prevent electrostatic discharge).
- Screwdriver (to open the computer case).
- User manuals for the motherboard and RAM.
-
Power Down and Disconnect:
Shut down your computer, unplug all cables, and press the power button for 10 seconds to discharge residual electricity.
Step-by-Step Installation Process
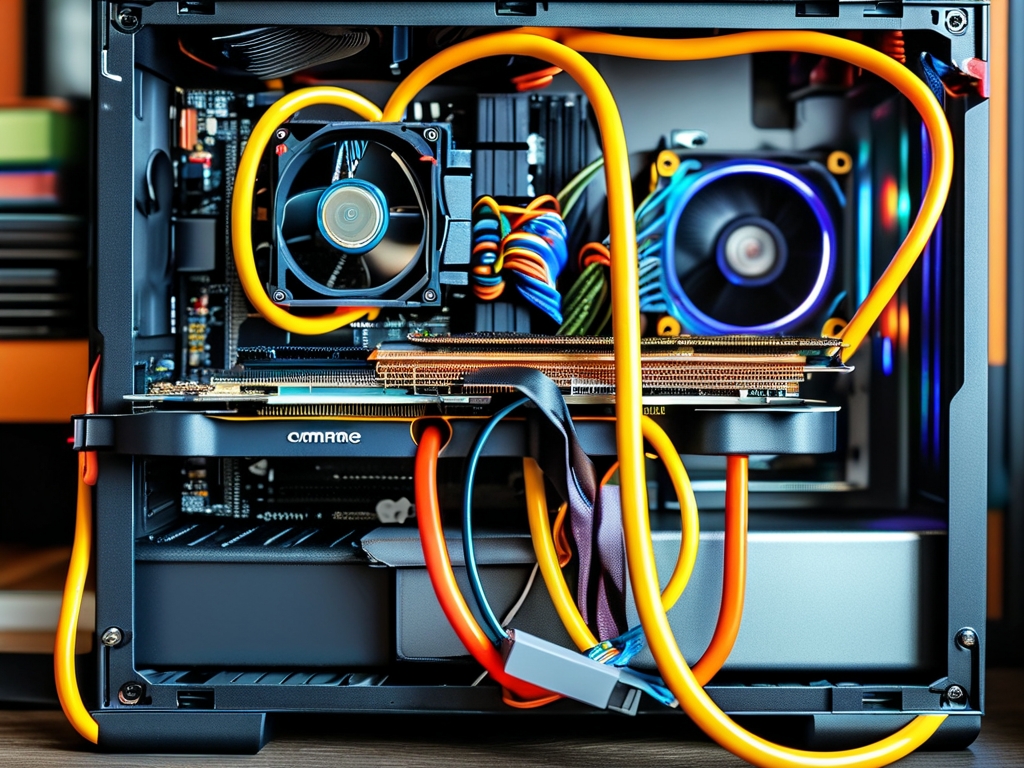
Step 1: Open the Computer Case
- Remove the side panel using a screwdriver. For tool-less cases, unlatch the clips.
- Place the panel in a safe location to avoid damage.
Step 2: Locate the RAM Slots
- Identify the RAM slots on the motherboard. Most boards have 2–4 slots, often color-coded for dual-channel configurations.
- Consult the motherboard manual to determine optimal slot placement (e.g., slots 2 and 4 for dual-channel setups).
Step 3: Ground Yourself
- Wear an anti-static wristband connected to a metal part of the case. If unavailable, touch the case’s metal frame periodically.
Step 4: Remove Existing RAM (If Upgrading)
- Press down on the plastic retention clips at both ends of the RAM stick until it pops up.
- Gently pull the RAM out of the slot.
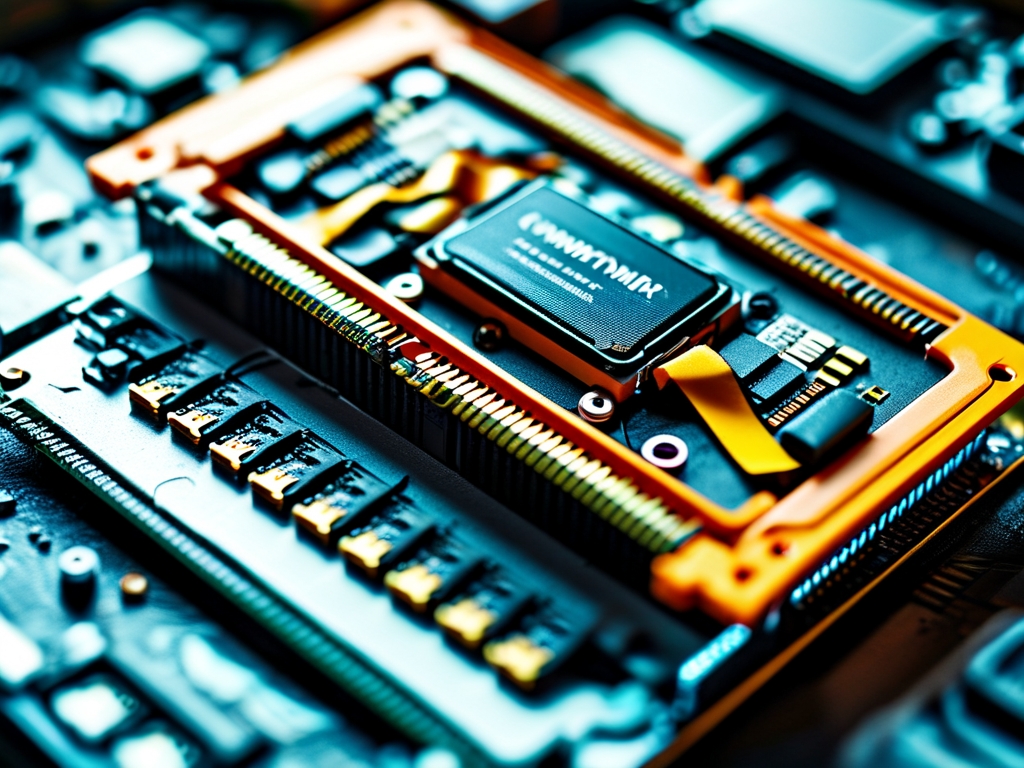
Step 5: Install the New RAM
- Align the notch on the RAM stick with the slot’s ridge to ensure correct orientation.
- Firmly press both ends of the RAM into the slot until the retention clips snap into place.
- Note: Apply even pressure—forcing the RAM may damage the motherboard.
Step 6: Verify Installation
- Ensure the retention clips are fully closed and the RAM is seated evenly.
Step 7: Reassemble the Computer
- Replace the side panel and secure it with screws or latches.
- Reconnect all cables and peripherals.
Post-Installation Testing
-
Power On the System:
- Turn on the computer. If the RAM is installed correctly, the system should boot normally.
-
Check BIOS/UEFI:
- Enter the BIOS/UEFI (usually by pressing Del, F2, or F10 during startup).
- Navigate to the memory section to confirm the new RAM is detected and running at the correct speed.
-
Use Operating System Tools:
- On Windows, open Task Manager (Ctrl+Shift+Esc) and check the “Performance” tab.
- On macOS, go to “About This Mac” > “Memory.”
Troubleshooting Common Issues
-
No Boot/Beep Codes:
- Re-seat the RAM and ensure proper alignment.
- Test individual sticks in different slots to identify faulty hardware.
-
RAM Not Recognized:
- Update the motherboard’s BIOS/UEFI to the latest version.
- Verify compatibility between the RAM and motherboard.
-
Random Crashes/Blue Screens:
- Run a memory diagnostic tool (e.g., Windows Memory Diagnostic) to test for errors.
Optimizing RAM Performance
- Enable XMP (Extreme Memory Profile) in the BIOS/UEFI to achieve advertised speeds.
- Ensure proper cooling—high-speed RAM may generate additional heat.
Installing computer memory is a simple yet impactful upgrade that can extend the lifespan of your system. By following these steps meticulously, even beginners can complete the process confidently. Always prioritize safety (anti-static measures) and double-check compatibility to avoid issues. With your new RAM in place, enjoy faster multitasking, smoother gaming, and improved overall performance!